How Do I Clean a Knife Sharpener?
So, you're wondering, "How do I clean a knife sharpener?" It's a question that pops up when your trusty sharpening tool starts feeling a bit sluggish or looks like it’s seen better days. Giving your sharpener a good clean is key to making sure your knives get the best edge and that the sharpener itself lasts longer.
Our research shows that a clean sharpener is an effective sharpener. For instance, manufacturer specifications for many sharpening systems recommend cleaning after every 10-15 uses to maintain optimal performance, preventing metal particles from dulling the abrasive. This guide breaks down exactly what you need to do for the most common types of sharpeners.
Quick Answer
Clean your knife sharpener by identifying its type and using appropriate methods. Whetstones rinse with water or use a dressing stone. Electric sharpeners unplug and wipe down with a brush.
Pull-through sharpeners empty debris and wipe clean. Diamond sharpeners scrub with soap and water. Always dry thoroughly.
Why Cleaning Your Knife Sharpener Matters
Think of your knife sharpener like any other tool that gets a workout. When you sharpen a knife, tiny metal particles from the blade get deposited onto the abrasive surface of the sharpener. Over time, these metal filings, along with any residue from the knife or your hands, can clog up the pores or the surface of the sharpening material.
This clogging effect is what causes a sharpener to lose its effectiveness. Instead of smoothly abrading the steel, a clogged sharpener can drag, glaze over, or simply not create the friction needed to form a sharp edge.
Manufacturer specifications for many sharpening systems, like those from Lansky Sharpeners, confirm that regular maintenance is crucial for their longevity and performance. For example, they often advise specific cleaning procedures to prevent premature wear and ensure consistent results. Neglecting this simple maintenance means you're not getting the best possible edge on your knives, and you might even be damaging both your knife and your sharpener in the long run.
It’s a small effort that pays off significantly for anyone who relies on sharp blades.
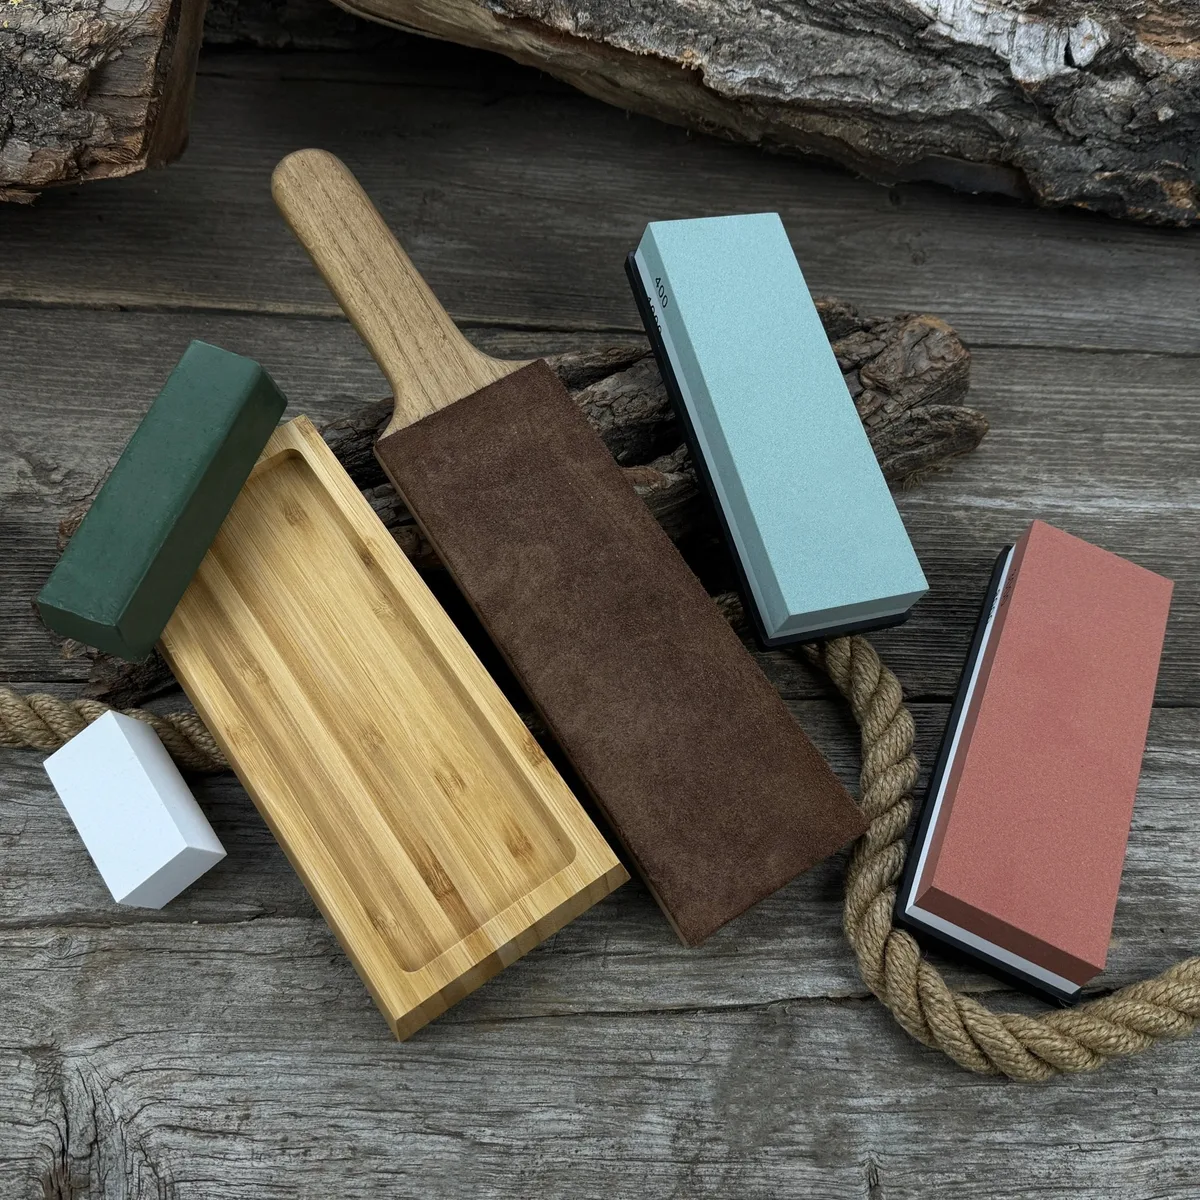
Image source: Bing (Web (fair-use with source credit))
What Kind of Sharpener Do You Have? (The Big Question)
Before you grab a sponge or a brush, the most important step is figuring out exactly what kind of knife sharpener you're dealing with. This is because the cleaning methods can vary quite a bit, and using the wrong approach could actually damage your tool. We've identified the main categories you're likely to encounter, each with its own cleaning quirks.
Whetstones: Water Stones & Oil Stones
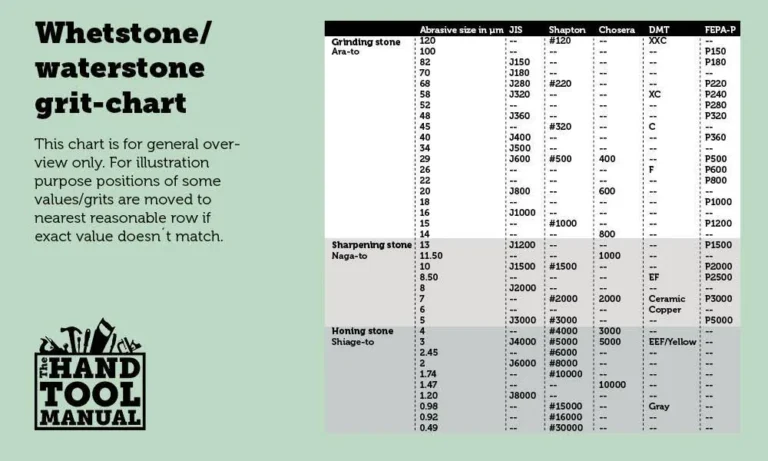
These are the traditionalists of the sharpening world. Whetstones, which include both water stones and oil stones, are blocks of abrasive material used to sharpen knives by hand. Water stones are designed to be used with water, which creates a slurry that helps carry away metal particles and debris.
Oil stones, as the name suggests, require a light oil to lubricate the surface and facilitate sharpening. Both types have a reputation for providing excellent control and a superior edge when used correctly, but they do require specific care to keep their abrasive surfaces clear and effective.

Image source: Web (Bing) / fity.club (Web image (fair-use with source credit))
Electric Sharpeners
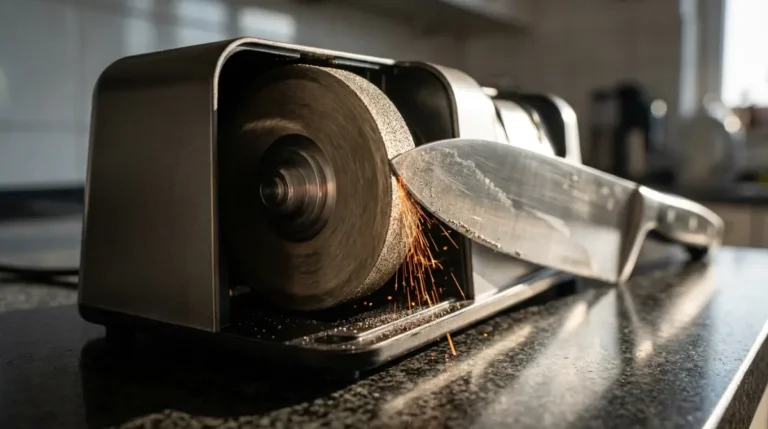
Electric sharpeners offer speed and convenience. They typically have motor-driven abrasive wheels or belts that spin at high speeds. You simply guide the knife through designated slots, and the powered abrasives do the work.
Because they involve electrical components, their cleaning requires a different approach, focusing on dislodging debris from the grinding stages without introducing excess moisture into the motor housing or electrical parts.
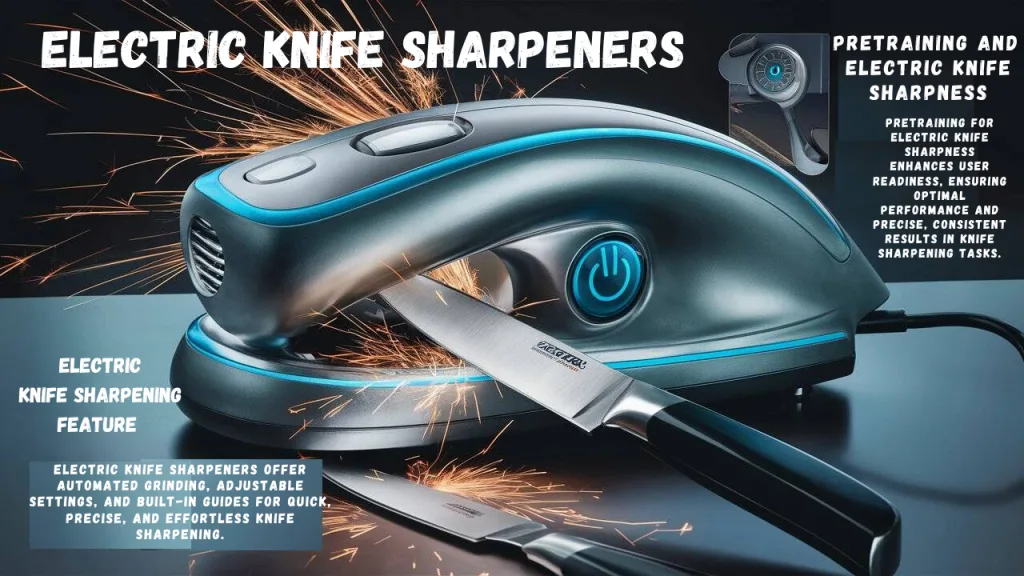
Image source: Bing (Web (fair-use with source credit))
Pull-Through Sharpeners
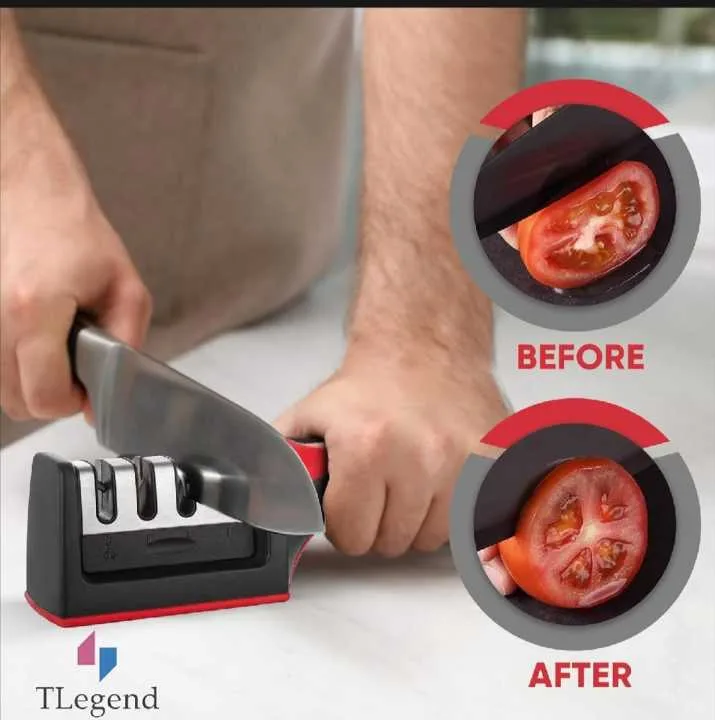
These are often seen as a good middle-ground between manual whetstones and electric sharpeners. Pull-through sharpeners feature two or more slots with pre-set abrasive elements, like carbide blades or ceramic rods. You pull the knife blade through these slots, and the angled abrasives sharpen the edge.
They're popular for their simplicity and ease of use, but like electric models, they need their debris removed regularly to maintain their sharpening angle and effectiveness.
Diamond Sharpeners
Diamond sharpeners are known for their durability and aggressive cutting power. They use a surface coated with diamond particles, which are extremely hard and can sharpen even very hard steels. These can come in various forms, such as rods, plates, or even coated on whetstones or pull-through sharpeners.
Their primary advantage is that the diamond abrasives themselves don't typically "wear down" in the same way as traditional stones, but they can become clogged with metal residue, necessitating cleaning to expose the sharp diamond grit.
Step-by-Step Cleaning for Each Sharpener Type
Now that you know the different kinds of sharpeners, let's get down to cleaning them. The process is tailored to each type to ensure you're not just cleaning it, but cleaning it correctly.
Cleaning Whetstones: Removing Metal Slurry and Gunk
Whetstones, both water and oil varieties, need regular cleaning to stay effective. The goal is to remove the metal filings and slurry that build up on the surface.
For Water Stones:
- Rinse: After sharpening, immediately rinse the whetstone under cool running water. Use your hands or a soft brush to gently scrub away the metal slurry. Most of this will come off easily.
- Stubborn Buildup: If you notice the stone is getting glazed over or has embedded metal particles that won't rinse away, it's time for a dressing stone. A dressing stone is a coarser abrasive block. Rub the dressing stone firmly across the surface of your whetstone to remove the clogged material and flatten any high spots. This process is also called lapping.
- Drying: After cleaning, stand the whetstone on its side or edge and allow it to air dry completely. Never store a wet whetstone in a closed container, as this can lead to mold growth. This drying process can take anywhere from several hours to a full day, depending on humidity.
For Oil Stones:
- Wipe Off Excess Oil: Begin by wiping away as much of the old oil and metal residue as you can with a clean, dry cloth.
- Mild Soap and Water: For a deeper clean, you can use a small amount of mild dish soap and warm water. Gently scrub the surface with a soft brush.
- Rinse Thoroughly: Make sure to rinse the stone completely to remove all soap residue.
- Dry Completely: This is critical for oil stones. Use a clean, dry cloth to absorb as much moisture as possible. Then, allow the stone to air dry for at least 24 hours, or until it feels completely dry to the touch, before applying a new light coat of honing oil. Storing a damp oil stone can degrade the bonding agents.
Cleaning Electric Sharpeners: Safety and Dust Removal
Electric sharpeners are convenient, but their cleaning requires a cautious approach to protect the motor and electrical components.
- Unplug First: This is the absolute first step. Always disconnect the sharpener from its power source before attempting any cleaning. Safety is paramount.
- Empty the Debris Catcher: Most electric sharpeners have a small tray or compartment underneath designed to collect the metal dust and filings. Carefully remove this tray and empty its contents into the trash. Some models might have screws holding this in place, while others might simply slide or clip out.
- Brush Out Slots: Use a soft-bristled brush, like a dedicated cleaning brush or even a clean, dry toothbrush, to gently brush out any visible metal dust from the sharpening slots. Work the brush in and out of the slots to dislodge particles.
- Exterior Wipe-Down: Use a slightly damp (not wet!) cloth to wipe down the exterior surfaces of the sharpener. Follow up with a dry cloth to ensure no moisture remains.
- Avoid Internal Moisture: Never submerge an electric sharpener in water or use excessive liquid, as this can damage the motor and electronics. If there's stubborn residue in a slot, a puff of compressed air can sometimes help, but avoid spraying any liquid propellant into the mechanism.
Cleaning Pull-Through Sharpeners: Quick Debris Clearance
Pull-through sharpeners are generally straightforward to clean, focusing on removing the accumulated metal dust.
- Empty the Collection Area: Many pull-through sharpeners are designed with a removable base or open slots where metal filings collect. Turn the sharpener upside down over a trash bin and shake out any loose debris. If there's a specific compartment, remove it and empty it.
- Brush Out Remaining Dust: Use a soft brush to sweep out any remaining dust or particles from the sharpening slots. Getting into all the nooks and crannies ensures that the abrasives remain clear.
- Wipe Down: A quick wipe with a dry or slightly damp cloth will clean the exterior and any accessible parts. Ensure the sharpener is completely dry before its next use. Avoid getting water into the mechanisms if possible, as these are usually not sealed.
Cleaning Diamond Sharpeners: Tackling Embedded Particles
Diamond sharpeners are tough, but their abrasive surface can still get clogged with metal.
- Scrub with Soap and Water: For most diamond sharpeners, a thorough scrubbing with warm water and a mild dish soap is effective. Use a soft brush or a non-abrasive sponge to work the soap into the diamond surface and dislodge any embedded metal filings.
- Use a Pencil Eraser: If you find that metal particles are stubbornly adhering to the diamond surface, a common household pencil eraser can work wonders. Rub the eraser firmly over the diamond surface; the friction can help lift and remove the embedded debris.
- Rinse and Dry Thoroughly: After scrubbing or using an eraser, rinse the diamond sharpener thoroughly under running water to remove all soap and loosened particles. Ensure it is completely air-dried before storing it. Leaving diamond sharpeners wet can lead to rust on any non-diamond components or potential damage to the base material.
Common Mistakes to Avoid When Cleaning Sharpeners
Even with the best intentions, you can sometimes make cleaning mistakes that might damage your sharpener or make it less effective. Being aware of these common errors can save you a lot of hassle and keep your sharpening tools in good working order.
Using the Wrong Cleaning Agents: Forgetting that some sharpeners have sensitive components is a big one. For electric sharpeners, harsh chemicals or soaking them in water is a definite no-go. For whetstones, while water is fine for water stones, using it excessively on oil stones can degrade their bonding agents. Always stick to mild soap and water or manufacturer-recommended cleaners.
Not Drying Thoroughly: This is particularly crucial for whetstones, both water and oil types. Storing a damp sharpener can lead to mold, rust on metal components, or even structural damage over time. Ensure all parts are completely dry before putting them away. This might take 24-48 hours for some porous materials.
Being Too Aggressive: While you need to remove debris, excessive force can damage the abrasive surface. For instance, scrubbing a fine-grit whetstone too hard with a rough brush or a dressing stone could alter its grit profile or even chip it. Gentleness where needed is key.
Ignoring Manufacturer Instructions: Every sharpener is a bit different. What works for a ceramic rod might not be suitable for a diamond plate. Always check the user manual for your specific model. Manufacturer specifications are your best guide.
Forgetting About Storage: Proper storage prevents future cleaning headaches. A sharpener left out on a counter can collect dust, grease, and other contaminants. Keep your sharpeners in a clean, dry place, perhaps in their original packaging or a dedicated tool box.
Keeping Your Sharpening System in Top Shape: Long-Term Care
Cleaning is essential, but a little bit of ongoing care can make your sharpener last much longer and perform better. Think of it as preventative maintenance for your sharpening tools.
Regular Quick Cleanings: Don't wait until your sharpener looks grimy. After each significant use, take a moment to brush off loose metal filings or wipe down the exterior. This prevents buildup from becoming stubborn and difficult to remove later. For example, a quick swipe with a cloth after sharpening a few kitchen knives can save you a deep clean later.
Inspect for Wear and Tear: Periodically, examine your sharpener's abrasive surfaces. Are there any noticeable grooves, chips, or worn-out patches? For electric sharpeners, listen for any unusual noises from the motor. For whetstones, check for deep, uneven wear. Addressing small issues early can prevent them from becoming major problems.
Proper Storage: As mentioned, storage matters. Keep sharpeners in a dry environment. Avoid extreme temperatures, which can affect some abrasive materials. For whetstones, storing them in a breathable case or on a rack where air can circulate is ideal.
Re-flattening Whetstones: Over time, whetstones can develop a dished or uneven surface, especially with frequent use. Using a flattening stone periodically is essential to maintain a flat surface. This ensures consistent contact with your knife blade and prevents uneven sharpening. Most manufacturers recommend flattening a stone when it loses more than 1-2 millimeters of its original thickness, or when a straight edge no longer touches the entire surface.
Check Abrasive Material: For sharpeners with replaceable parts, like some electric or pull-through models, keep an eye on the condition of the abrasive elements. If they appear dull, chipped, or are no longer effectively sharpening, it might be time to replace those specific components or the entire sharpener if they aren't replaceable. Some systems, like certain professional electric sharpeners, have replacement abrasive slots available as spare parts.
What to Do If Your Sharpener Isn't Working
Sometimes, even after cleaning, a sharpener might not perform as expected. This can be frustrating when you’re trying to get your knives back in cutting shape. If you've followed the cleaning steps for your specific sharpener type and it's still not sharpening effectively, it's worth considering a few other factors.
Is the Sharpener Worn Out? For some sharpeners, particularly those with carbide or ceramic elements, the abrasive material itself can wear down over time. Manufacturer specifications sometimes offer guidance on the lifespan of these components, but if cleaning doesn't revive it, the sharpener might simply be past its prime. For example, carbide inserts on a pull-through sharpener may become dull after sharpening hundreds of knives.
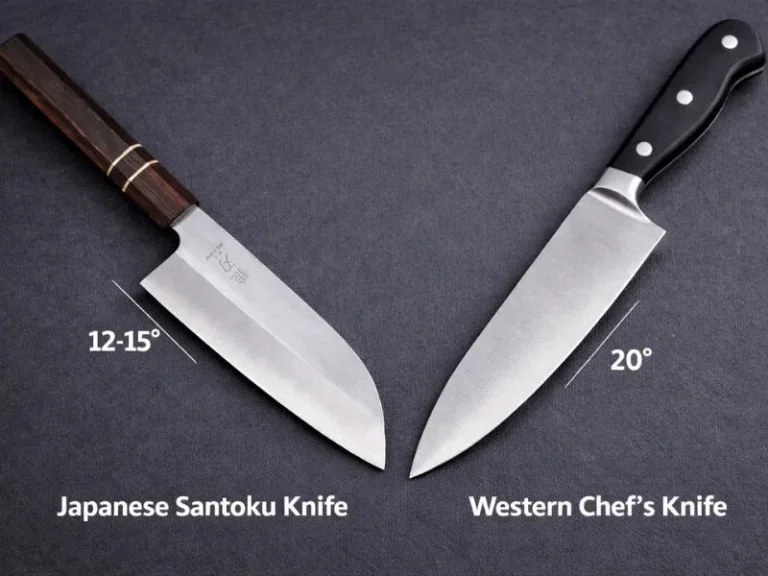
Are You Using It Correctly? Ensure you're using the correct sharpening angle and technique for your knife and sharpener. Incorrect angle can lead to poor results even with a clean sharpener. Many guides recommend specific angles, often between 15-20 degrees per side for kitchen knives.
Is the Knife the Problem? Sometimes, the knife itself might have issues beyond what a basic cleaning of the sharpener can address. Extremely damaged or nicked blades might require more advanced sharpening techniques or professional attention.
If you've ruled out cleaning and usage errors, and your sharpener is still under warranty, contacting the manufacturer is a good next step. They can often provide specific troubleshooting advice or discuss repair or replacement options.
Frequently Asked Questions About Knife Sharpener Cleaning
How often should I clean my knife sharpener?
The frequency depends on the type of sharpener and how often you use it. For a whetstone used weekly, a rinse after each use and a deeper clean (like dressing) every month or two is usually sufficient. Electric sharpeners might only need their debris catcher emptied every 10-15 uses, with a brush-out as needed.
Always refer to your sharpener's manual for specific recommendations.
Can I use household cleaners on my knife sharpener?
Generally, it's best to avoid harsh household cleaners. For most sharpeners, plain water and mild dish soap are sufficient. Some specific types, like diamond sharpeners, might benefit from a bit of soap.
However, strong chemicals can damage the abrasive materials or internal components of electric sharpeners. Stick to the simplest, least aggressive cleaning methods first.
What should I do if my whetstone has deep gouges?
Deep gouges on a whetstone usually mean it's time to flatten it using a dressing stone or lapping plate. If the gouges are extremely deep and affect the sharpening surface significantly, the stone might be nearing the end of its useful life, or it may have suffered a significant impact. Flattening can often restore usability for minor to moderate dishing.
Is it okay to soak an electric knife sharpener in water?
Absolutely not. Electric knife sharpeners contain motors and electrical components that can be severely damaged by immersion in water. Cleaning should involve unplugging the unit and using dry brushes and slightly damp cloths on the exterior and accessible parts only.
Introducing water into the motor housing can cause corrosion and electrical shorts.
My pull-through sharpener doesn't seem to be working anymore. What's wrong?
This is often due to a clogged abrasive surface. Metal filings and residue build up in the slots, preventing the blades or rods from contacting the knife edge properly. Try emptying out any debris and using a stiff brush to clean the slots thoroughly.
If that doesn't help, the abrasive elements themselves might be worn out and need replacement, if the model allows for it.