How to Use a Knife Sharpener?
A dull knife isn't just annoying; it's a recipe for frustration and potential danger in the kitchen. You might find yourself wrestling with tomatoes instead of slicing them, or pushing too hard, risking a slip. Knowing how to properly use a knife sharpener transforms your kitchen tools from frustrating obstacles into precise instruments.
We'll walk you through the essentials, demystifying the process so you can achieve that satisfying razor's edge.
In our research, we found that for most common kitchen knives, maintaining a 15- to 20-degree angle per side is crucial. This precise angle ensures you're sharpening the edge effectively without removing excessive metal or creating a weak bevel. This guide focuses on how to achieve that sharpness, whether you're using a simple whetstone or a more automated electric sharpener, and what visual cues to look for to get it right every time.
Quick Answer
To use a knife sharpener, maintain a consistent angle, typically 15-20 degrees. Glide the blade edge against the abrasive surface of a whetstone or through electric sharpener slots. Check for a burr, then deburr the edge.
Keep pressure steady and alternate sides.
Seeing is Believing: Mastering Knife Sharpening with Visual Guides
When it comes to knife sharpening, description only gets you so far. While we can talk about angles, grits, and pressure, the real "aha!" moment often comes when you see it happen. The subtle shift in blade angle, the way the burr forms and is then removed, or the visual indicator on an electric sharpener, these are things that are much easier to grasp with a demonstration.
Think of it like learning to ride a bike; someone can explain it, but you truly get it when you feel the balance and see yourself stay upright.
Our focus here is on equipping you with the knowledge to recognize these visual cues yourself. We'll describe what to look for, what might seem "wrong" visually, and how to correct it. This isn't about reading a manual; it's about developing an eye for a properly sharpened edge.
Why Visuals Make All the Difference with Knife Sharpeners
It’s hard to overstate how much visual feedback plays a role in successful knife sharpening. Imagine trying to explain the exact angle to hold your phone to take a great photo without showing them. You can say "hold it at eye level," but the subtle tilt, the slight adjustment to catch the light, that’s something you learn by looking.
Knife sharpening is very similar.
- Angle Consistency: This is the biggest one. A consistent angle, typically between 15-20 degrees for most kitchen knives, is paramount. Without seeing the angle, it's easy to drift, sharpening too steep or too shallow, which ruins the edge. Visual guides on sharpeners or a good sense of spatial awareness are key.
- Burr Formation and Removal: A burr, or wire edge, is a tiny ridge of metal that forms on the opposite side of where you're sharpening. Seeing this burr develop is your signal that you've sharpened enough on one side. Then, visually confirming it's been removed is crucial for a clean, sharp edge.
- Abrasive Wear: On sharpening stones, you can often see the slurry (a mixture of water and stone particles) forming, indicating the stone is actively abrading the steel. You can also see if the stone is becoming grooved or uneven, signaling it's time for maintenance.
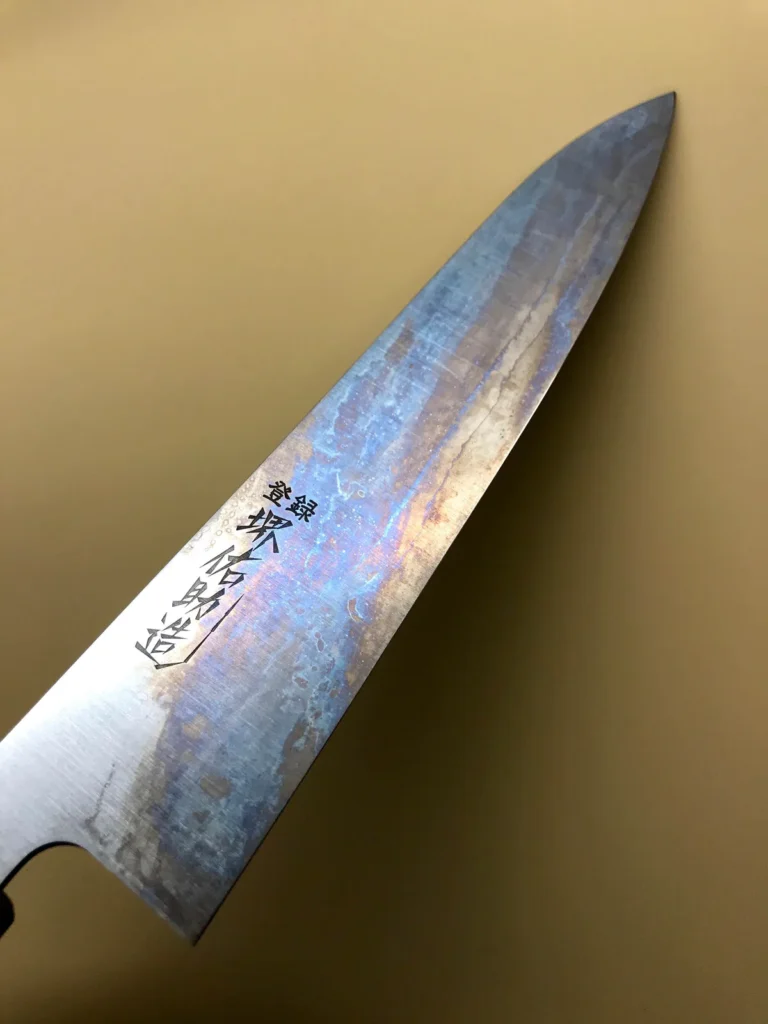
- Edge Appearance: A truly sharp edge will gleam differently. It will appear finer, almost like a sharp pencil point when viewed under magnification. A dull edge might look rounded or chipped.
Essentially, the act of sharpening is a visual conversation between you, the knife, and the abrasive. This guide will help you interpret that conversation.
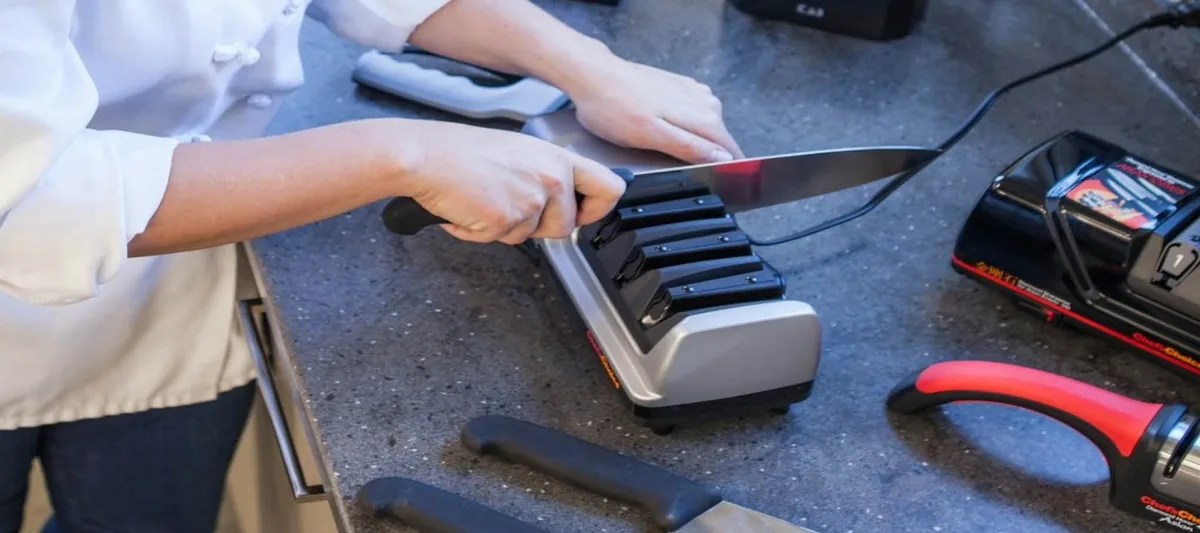
Image source: Bing (Web (fair-use with source credit))
Sharpening Stones 101: Understanding Grits and How to Use Them
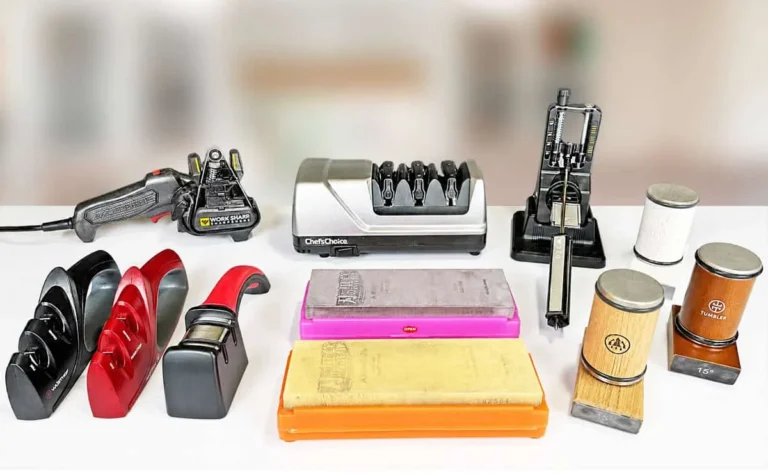
Whetstones, or sharpening stones, are the traditional way to put an edge on a knife. They come in a variety of grits, which is a measure of how coarse or fine the abrasive particles are. Think of grit like sandpaper: a low grit (like 200-400) is rough and removes metal quickly, good for fixing chips or reshaping a very dull blade.
A medium grit (around 1000) is your workhorse for general sharpening. High grits (3000 and above) are for refining and polishing the edge to a razor-like sharpness.
Most sharpening tasks will involve a progression through these grits, starting with coarser ones to establish the bevel and then moving to finer ones to hone and polish.
Getting Your Whetstone Ready (Soaking, Flattening)
Many whetstones are "water stones," meaning they need to be soaked in water before use. Manufacturer specifications typically indicate soaking times, which can range from 5 to 20 minutes, or until air bubbles stop rising from the stone. This saturation allows water to lubricate the stone and carry away metal particles, preventing it from clogging.
- Soaking: Submerge the stone in a container of clean water. Once air bubbles cease, it's ready. Some stones can be used with just a splash of water on the surface (splash-and-go stones), but most traditional water stones require soaking.
- Flattening: Over time, whetstones can become dished or develop grooves from use. A flat stone is crucial for consistent sharpening. You'll need a flattening stone or a surfacing plate to re-flatten your sharpening stone regularly. You can check flatness by placing a straight edge across the stone’s surface in multiple directions. If there are gaps, it's time to flatten.
The Angle Game: Holding Your Knife on the Stone
This is where the visual aspect is critical. You need to maintain a consistent angle between the knife blade and the sharpening stone. For most Western-style kitchen knives, this angle is around 15-20 degrees per side.
Japanese knives often use a steeper, more acute angle, sometimes as low as 10-15 degrees.
- Visualizing the Angle: If you don't have angle guides, a common trick is to look at the edge of the knife. Imagine slicing a thin layer off the stone. For 20 degrees, think of a little less than a quarter of a right angle. A common visual aid is to place the knife flat on the stone, then lift it up so the spine is roughly the height of the width of your thumbnail. This is a rough approximation for 20 degrees.
- The Motion: Place the heel of the blade on the stone at your chosen angle. Apply light, consistent pressure and pull the knife towards you (or push away, depending on your stone and preference), ensuring the entire edge makes contact. Lift the knife, reposition, and repeat for the length of the blade. You're aiming for smooth, controlled strokes.
- Developing a Burr: As you sharpen one side, a small ridge of metal, called a burr or wire edge, will form on the opposite side of the edge you're sharpening. You can often feel this by gently running your fingertip (carefully!) from the spine towards the edge on the side opposite the one you just sharpened. When you feel a slight snag, you've likely created a burr and it’s time to switch sides.
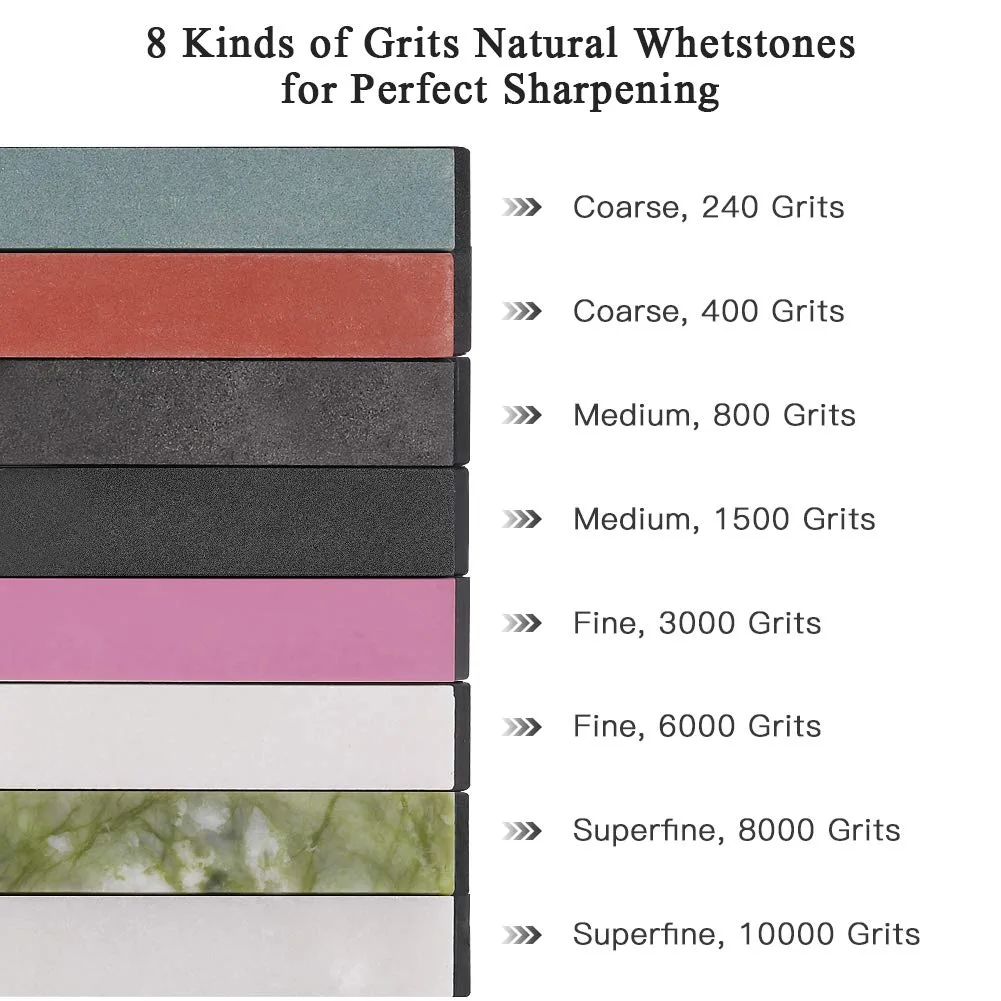
Image source: Bing (Web (fair-use with source credit))
Electric Sharpeners: A Quick Visual Walkthrough
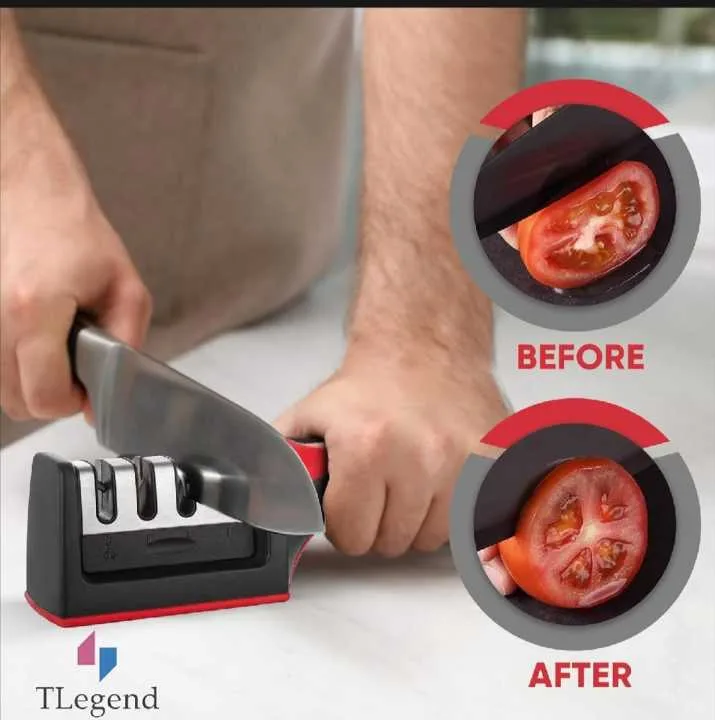
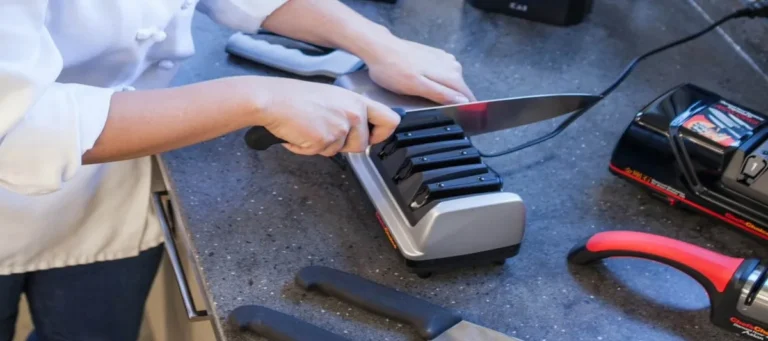
Electric knife sharpeners offer a faster, often more user-friendly alternative to manual sharpening. They typically use abrasive wheels or belts that rotate, guiding the blade through the sharpening process. The key advantage is that most have built-in angle guides, taking the guesswork out of maintaining the correct angle.
These sharpeners usually have multiple slots, each designed for a different stage of sharpening. The first slots are often coarser for repairing or reshaping a dull edge, while later slots have finer abrasives for honing and polishing.
Plugging In and Setting Up
Using an electric sharpener is straightforward. First, ensure it's placed on a stable, flat surface. Manufacturers' instructions will always specify plugging it into a grounded electrical outlet.
Some models might have rubber feet to prevent slipping, which is a good visual indicator of a stable unit.
Blade Slots and Stages: What to Look For
Each slot on an electric sharpener has a purpose. You'll typically see:
- Slot 1 (Coarse): This is for very dull or damaged knives. It uses a more aggressive abrasive to quickly remove metal and reshape the edge. This is where you'd start if your knife hasn't been sharpened in a long time or has nicks.
- Slot 2 (Medium/Fine): This slot refines the edge created by Slot 1 or is used for regular sharpening of a moderately dull knife. It removes less metal but creates a sharper, more durable edge.
- Slot 3 (Honing/Polishing): This final stage uses very fine abrasives, often ceramic or diamond-infused, to hone the burr off and polish the edge to a near-razor sharpness.
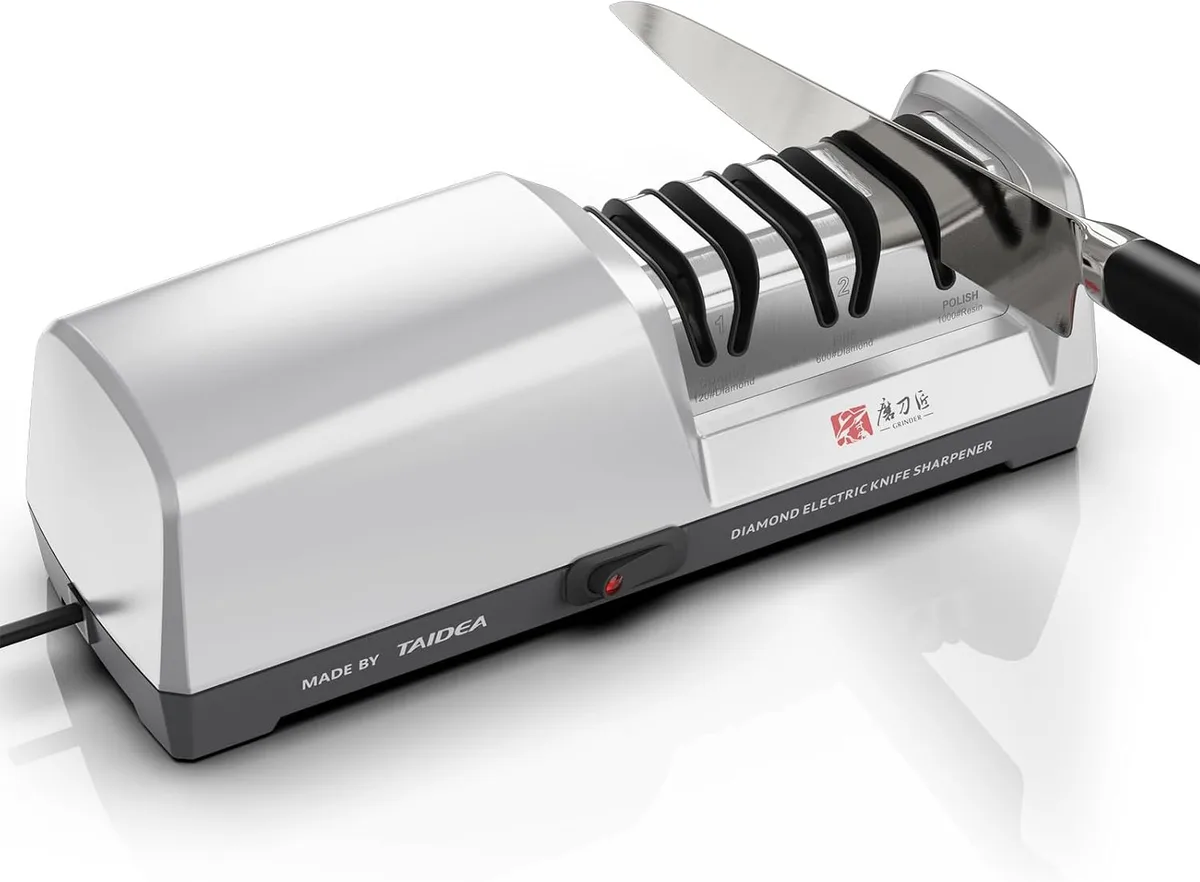
Image source: Bing (Web (fair-use with source credit))
- Visualizing the Process: When using an electric sharpener, you'll typically insert the heel of the knife blade into the designated slot. Then, gently pull the knife towards you, applying light, consistent pressure. You'll often hear the motor engage and the abrasives working against the steel. Repeat this motion 3-5 times per slot, or as recommended by the manufacturer. It’s important not to force the knife; let the machine do the work. You’re looking for smooth movement through the slot without binding or catching.
The Honing Steel: Realignment, Not Sharpening (and How to Do It)
A honing steel, also known as a sharpening rod or honing rod, is an essential kitchen tool, but it’s often misunderstood. Its primary job isn't to sharpen the knife by removing metal, but rather to realign the microscopic teeth along the knife's edge that get bent or rolled over during normal use. Think of it like straightening a bent comb; you're not adding teeth, just getting them back in line.
When is it time to hone? If your knife feels like it’s catching or dragging, even though you’ve sharpened it recently, its edge is likely just misaligned. Regular honing can extend the time between actual sharpening sessions.
- Types of Steels: Honing steels come in various materials like steel, ceramic, and diamond-coated steel. While diamond-coated steels can do some minor sharpening due to the abrasive particles, most traditional steels are for realignment. Ceramic steels are harder and can both realign and slightly sharpen.
- The Honing Angle: Similar to sharpening, a consistent angle is key. You’ll want to hold the steel vertically or at a slight angle away from you, resting the tip on a stable surface (like a cutting board or a folded towel to prevent slipping). Then, draw the knife blade down the steel at your chosen angle (again, typically 15-20 degrees), starting from the heel and finishing at the tip in one smooth motion.
- Visual Confirmation: You're looking for a smooth, uninterrupted glide. There shouldn't be any catching or stuttering. After a few passes on one side, flip the steel and repeat on the other side of the blade. The goal is to feel the edge become more "together" and responsive.
Common Sharpening Mistakes You Might Be Making (and How to Spot Them)
Even with good intentions, it’s easy to make mistakes when sharpening knives, leading to a duller edge or even damage. Being able to identify these visually is your first line of defense.
- Incorrect Angle: This is the most common pitfall. If your angle is too steep, you'll create a weak, thin edge that chips easily. If it's too shallow, you might not be grinding into the steel effectively.
- Visual Cue: Uneven wear on the bevel (the sloped part of the blade near the edge), or a shiny, rounded edge instead of a fine line.
- Inconsistent Pressure: Applying too much pressure can overheat the steel, damage the edge, or cause the knife to dig into the stone. Too little pressure means it takes forever to sharpen.
- Visual Cue: Uneven grinding marks on the blade, or a lack of a visible burr after many passes.
- Not Sharpening Both Sides Evenly: This leads to a knife that cuts unevenly or drifts to one side.
- Visual Cue: A noticeable burr on one side that doesn't disappear when you try to hone it off.
- Skipping the Fine Grits: Using only coarse stones might make a knife cut, but it won't be truly sharp or hold an edge for long.
- Visual Cue: The edge might look somewhat sharp but feels toothy or dulls quickly. A polished edge from a fine grit will have a distinct gleam.
- Forgetting to Deburr: If you don't remove the burr, you're essentially sharpening a bent piece of metal, which will fold over on itself when you try to cut.
- Visual Cue: The knife still feels like it's "catching" or isn't slicing cleanly, even after what seems like sufficient sharpening. You might see a visible wire edge if you look very closely.
Keeping Your Sharpener in Shape: Maintenance and Care
Just like your knives, your sharpening tools need a bit of care to perform their best. For water stones, the most common maintenance is ensuring they are properly cleaned and stored. After you've finished sharpening, rinse your whetstone thoroughly under running water to remove all metal particles and slurry.
If you used a paste or oil, wipe it clean according to the manufacturer's guidelines.
- Drying: It's crucial to let water stones air dry completely before storing them. Storing them while still damp can lead to mold or mildew growth, or even damage the stone itself. Some users place them on a drying rack or a towel in a well-ventilated area. Avoid direct sunlight or heat, which can cause some stones to crack.
- Storage: Once dry, store your whetstones flat. Many come with their own cases, or you can purchase separate stone holders. Keeping them flat prevents them from warping or chipping. If you have multiple stones, store them separately to avoid scratching each other. A well-maintained stone will last for years.
For electric sharpeners, maintenance is usually simpler. Most manufacturers recommend unplugging the unit before cleaning. You can usually wipe down the exterior with a damp cloth.
Some models might have removable parts or collection trays for metal shavings that need to be emptied. Check your specific model's manual for detailed instructions, as some abrasive wheels can wear down over time and may eventually need replacement.
When to Call the Pros: Knowing Your Limits
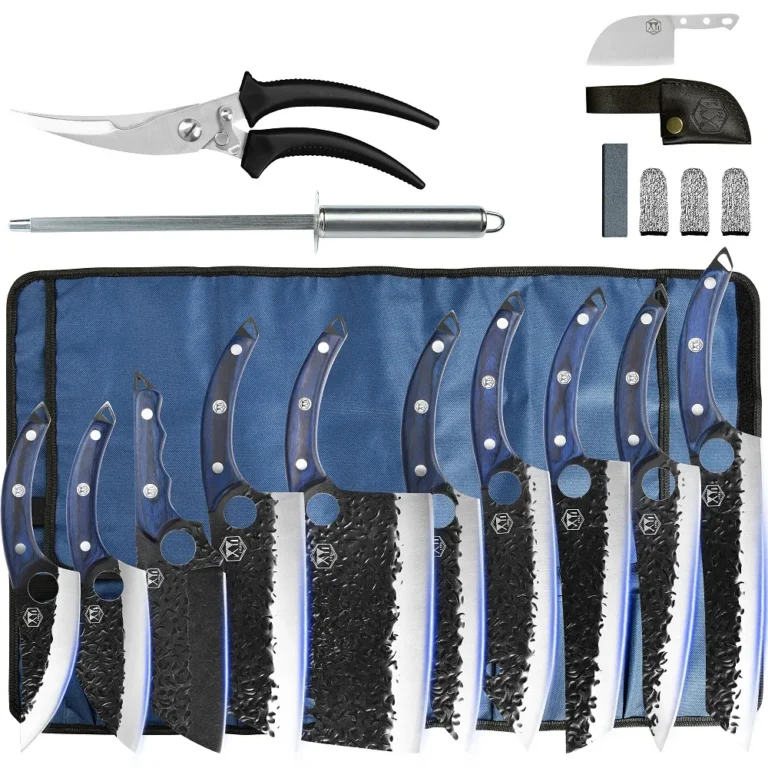
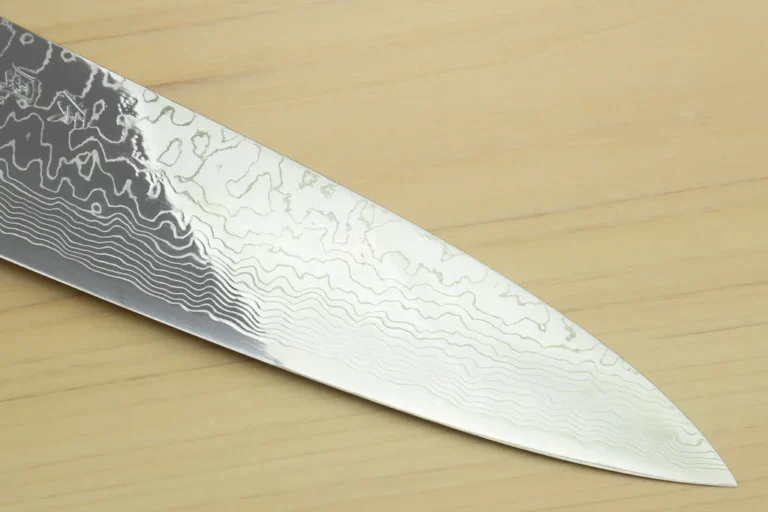
While learning to use a knife sharpener is a rewarding skill, there are times when it's better to entrust your blades to a professional. If you have very expensive knives, antique blades, or knives with specialized grinds like serrations or Damascus patterns, you might feel more comfortable with an expert. Professionals have specialized equipment and experience that can prevent damage to these valuable tools.
- High-Value Knives: If you own chef's knives that cost several hundred dollars, the risk of damaging them through improper sharpening might outweigh the savings of DIY. Professional services are often insured against damage.
- Specialty Blades: Serrated knives require a different sharpening approach than straight edges, often needing specific stones or tools to maintain the serrations. Similarly, very intricate patterns or delicate Damascus steels can be sensitive to aggressive sharpening.
- Time and Skill Investment: If you simply don't have the time or inclination to learn the nuances of sharpening, a professional service is a practical solution. Many services offer quick turnaround times.
Quick Sharpening Tips for Everyday Use
Keeping your knives sharp doesn't always require a full sharpening session. Regular honing is key, as we discussed, but even when sharpening is needed, a few quick tips can make the process smoother and more effective.
- Start with the Right Grit: For a slightly dull kitchen knife that's otherwise in good shape, a 1000-grit stone is usually sufficient for sharpening. If it's severely dull or chipped, you might need to start with a coarser grit (like 400) before moving to the 1000-grit stone.
- Focus on Consistency: The most important factor is maintaining that consistent angle. It's better to use a slightly imperfect but consistent angle than to fluctuate wildly. If you're struggling, consider an electric sharpener with guides or practice on less expensive knives first.
- Check for the Burr: Don't skip the step of checking for and removing the burr. This is your visual and tactile cue that you've sharpened properly. A good burr removal process ensures a clean, sharp edge.
- Test the Edge: After sharpening and deburring, you can test the sharpness. A common test is to see if the knife can cleanly slice through a piece of paper held vertically. If it catches or tears the paper, the edge likely needs more work or refinement.
Frequently Asked Questions About Knife Sharpeners
How often should I sharpen my knives?
This depends on how often you use them and what you're cutting. For a home cook using knives daily for general tasks, sharpening every 1-3 months is often sufficient. Professional chefs might sharpen weekly or even daily.
Honing, however, should be done much more frequently, perhaps before or after every use.
Can I sharpen any knife with any sharpener?
While most sharpeners can handle common kitchen knives, very specialized knives might require specific tools. For instance, some high-end Japanese knives have a very acute angle (10-15 degrees per side) that might be difficult to maintain on some Western-style sharpeners. Likewise, very hard steels (like those found in some premium knives) can be harder to sharpen and may benefit from diamond abrasives.
Always check your knife manufacturer's recommendations.
What's the difference between sharpening and honing?
Sharpening removes metal to create a new edge. Honing realigns the existing microscopic teeth of the blade's edge without removing significant metal. Sharpening makes a dull knife sharp; honing maintains an already sharp edge by keeping it aligned.
Think of sharpening as repairing the edge, and honing as tuning it up.
Do diamond sharpening stones wear out?
Diamond stones are very durable and generally don't wear down in the same way that ceramic or aluminum oxide stones do. The diamond particles are bonded to a metal or plastic substrate. Over very long periods of heavy use, the diamond particles can become slightly less exposed, reducing their effectiveness.
Cleaning them regularly helps maintain their performance.
Can I sharpen small pocket knives or tools too?
Yes, many knife sharpeners, especially manual ones like whetstones or multi-stage electric sharpeners, can accommodate smaller blades found on pocket knives, multi-tools, or even small carving tools. Always ensure the sharpener's slots or abrasive surfaces are suitable for the size and type of blade you're working with. Always use extreme caution when sharpening small items.