What Is the Best Knife Sharpener for Beginners?
When your kitchen knives start to feel dull, it’s more than just annoying, it can be downright dangerous. A dull blade requires more force to cut, increasing the chance of slipping and injuring yourself. That’s why knowing what is the best knife sharpener for beginners can make a huge difference in your kitchen safety and efficiency.
Our research dives into the most beginner-friendly sharpening tools, looking at ease of use, effectiveness, and the learning curve involved. We’ll cover the basics of what makes a sharpener work, focusing on practical aspects rather than complex metallurgy. Let’s get your knives slicing like new.
Quick Answer
Pull-through sharpeners are generally the best knife sharpener for beginners because they're simple and require no angle guesswork. For a bit more control and better results with practice, guided sharpening systems offer a good balance. Sharpening stones offer the best edge but require significant skill.
Why Your Knives Deserve a Sharp Edge
A knife’s effectiveness hinges on its edge. Over time, the microscopic teeth that form a sharp edge get bent, dulled, or even chipped from regular use. This degradation is natural, but it means that your once-razor-sharp chef’s knife or paring knife might start to mangle tomatoes or struggle to slice through an onion cleanly.
This isn't just an inconvenience; it's a safety concern. When you have to force a dull knife, the blade can easily slide off the food and onto your hand. Manufacturer specifications for kitchen knives often emphasize maintaining the factory edge for optimal performance and safety.
For example, many European-style chef’s knives are ground to a 20-degree angle per side, and keeping this precise angle is key to their cutting ability.
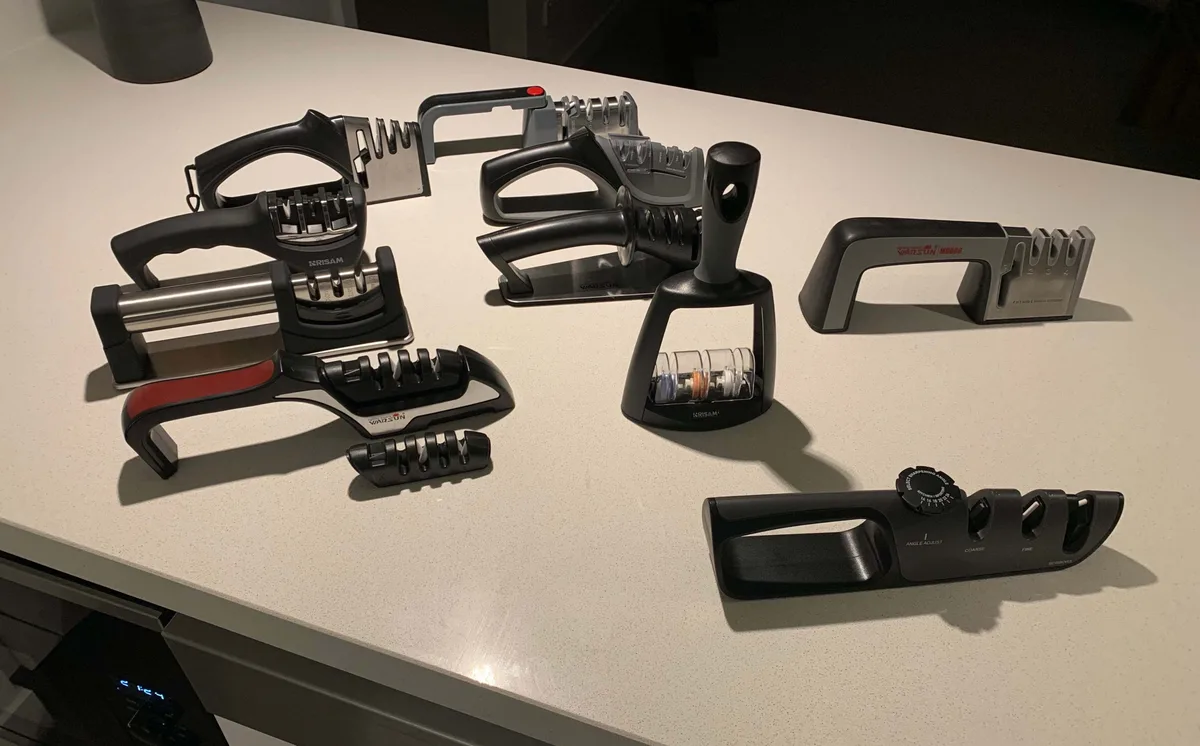
Image source: Bing (Web (fair-use with source credit))
Our goal here is to help you cut through the confusion and find a sharpening method that works for you. We’ll break down the most common types of sharpeners and explain why one might be a better fit for your needs than another, especially when you're just starting out.
Understanding Knife Sharpeners: What's What for Beginners
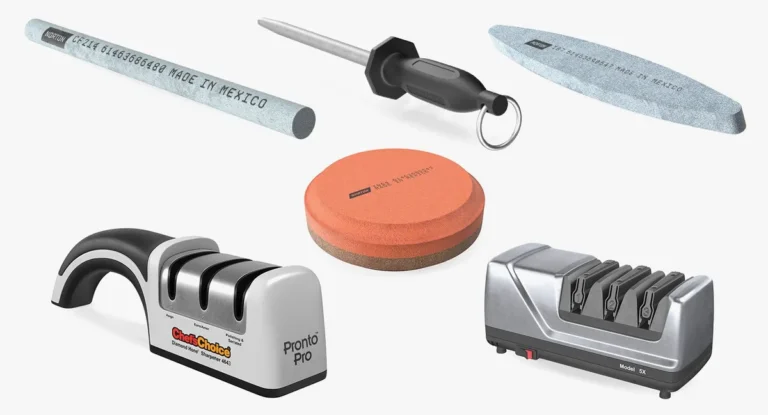
At its heart, sharpening a knife means restoring a thin, sharp edge. Different sharpeners do this in different ways, and for beginners, the primary consideration is usually how easy it is to get a good result without damaging your knife. We've looked at a wide range of tools, and here's a breakdown of the most popular types you’ll encounter.
Pull-Through Sharpeners: The Quick Fix
These are perhaps the most straightforward sharpening tools available. They typically feature slots with pre-set sharpening angles. You simply pull your knife blade through each slot a few times.
How they work: Usually, they have two or three stages. The first stage might use carbide blades to quickly set an edge, removing metal to create a new bevel. The second stage typically uses ceramic rods or stones to refine that edge, making it sharper. Some models include a third stage for a final polish.
Pros: Incredibly easy to use, requires no prior knowledge of angles, fast, and generally inexpensive. They’re great for quickly touching up a knife that’s just starting to feel dull.
Cons: They can remove more metal from the blade than necessary, potentially shortening the lifespan of your knives over time. The fixed angles might not be ideal for all knife types, especially specialized ones like Japanese knives that often have steeper, more acute angles. They are also less effective at restoring severely damaged or very dull edges compared to other methods.
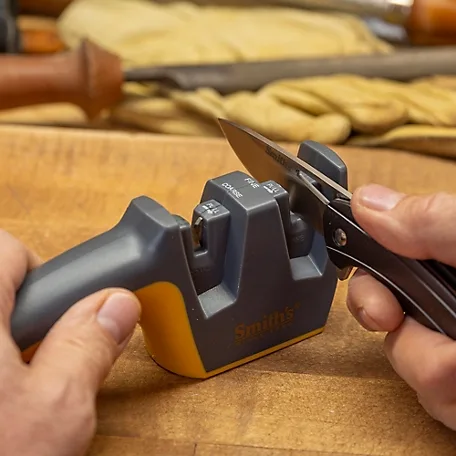
Image source: Bing (Web (fair-use with source credit))
For someone who just wants their everyday kitchen knives to cut properly without a fuss, a pull-through sharpener is a solid starting point. It’s the tool most likely to give you immediate, usable results with zero learning curve.
Sharpening Stones (Whetstones): The Classic Approach
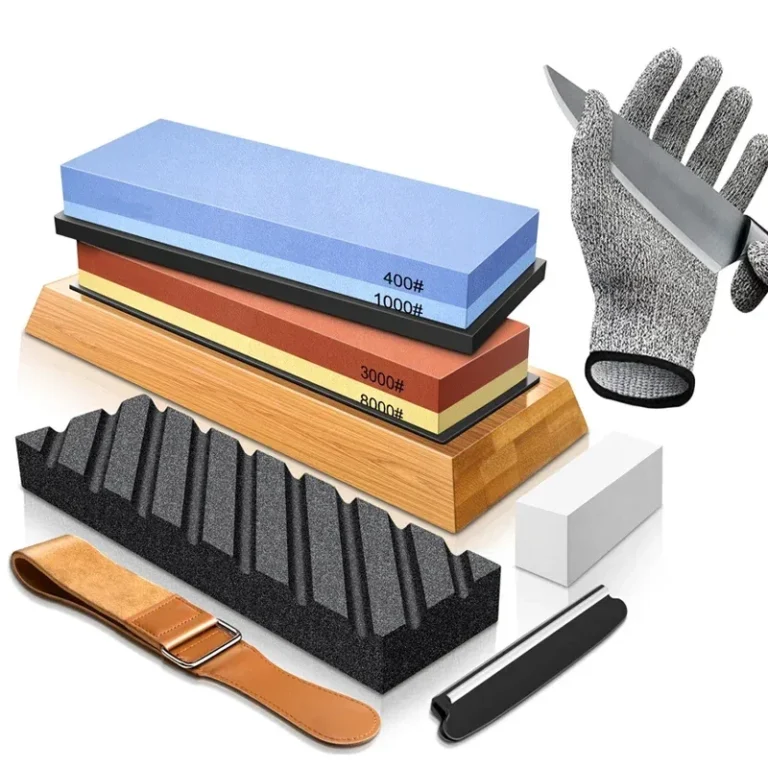
Sharpening stones, often called whetstones, are flat blocks made of abrasive material, such as ceramic, diamond, or natural stone. They’re the traditional method favored by many chefs and knife enthusiasts for achieving the sharpest possible edge.
How they work: You manually move the knife blade across the stone at a specific angle. Stones come in various grits, from coarse (for repairing chips and reprofiling) to fine (for refining and polishing the edge). The process involves learning to hold a consistent angle, usually around 15-20 degrees, as you glide the blade.
Pros: They offer the most control over the sharpening process, allowing you to achieve incredibly sharp, refined edges. They remove minimal metal when used correctly, prolonging the life of your knives. You can also use them to repair damaged edges or reprofile a blade if needed.
Cons: There’s a significant learning curve. Mastering the correct angle and technique takes practice, and it's easy to create an uneven or damaged edge if you're not careful. Stones also require maintenance, like flattening and soaking (for water stones), and can be messier to use.
For those willing to invest the time to learn, whetstones can deliver superior results. However, they are generally not recommended as the very first tool for a complete beginner due to the skill involved.
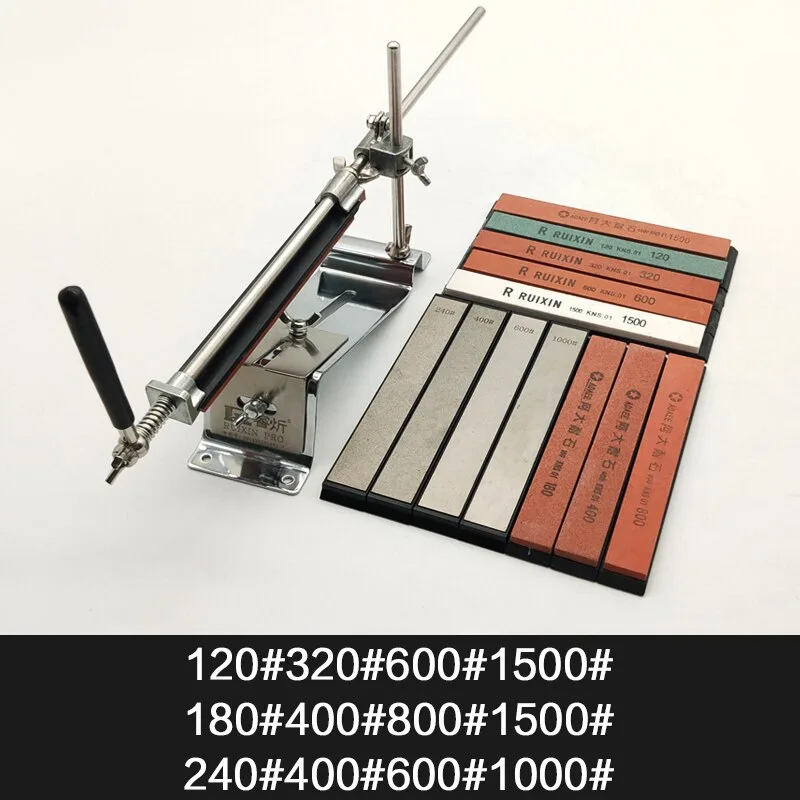
Image source: Bing (Web (fair-use with source credit))
Guided Sharpening Systems: Precision Made Easier
These systems bridge the gap between the simplicity of pull-through sharpeners and the control of freehand sharpening stones. They typically involve a base unit that holds abrasive rods or stones at a fixed, precise angle.
How they work: The system provides guides that ensure your knife blade is held at the correct sharpening angle (often adjustable) as you move it against the abrasive element. Some use simple clip-on guides, while others have more integrated setups with rods that pivot. This removes the guesswork of freehand sharpening.
Pros: They allow you to achieve consistent, accurate angles, leading to better and more reliable results than a pull-through sharpener, without the steep learning curve of whetstones. Many systems are versatile and can accommodate different knife types and edge angles. They offer a good balance of control and ease of use.
Cons: They can be more expensive than basic pull-through sharpeners. While they simplify angle holding, some practice is still needed to develop a smooth sharpening motion. They also might not offer the same level of edge refinement as high-grit whetstones.
These are an excellent option for beginners who want to progress beyond the quick-fix pull-throughs and are willing to learn a slightly more involved but very rewarding technique for maintaining their knives.
Electric Sharpeners: Speed and Convenience
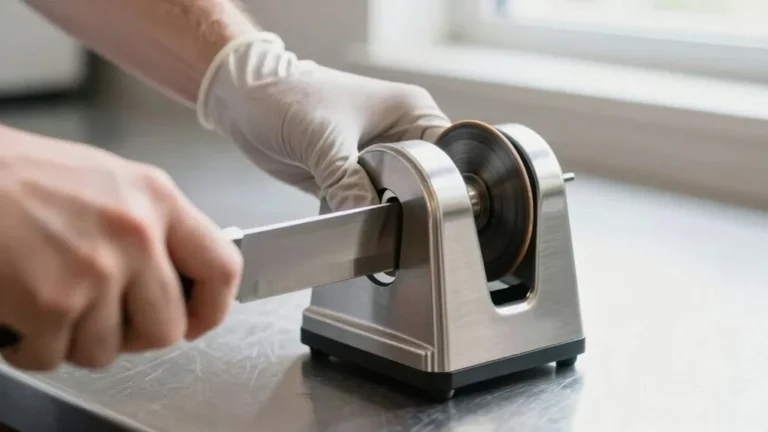
Electric sharpeners take much of the manual labor out of sharpening. They use motorized abrasive wheels or belts that spin at high speed.
How they work: You simply guide the knife blade through the motorized slots, and the machine does the work of grinding and sharpening. Many electric sharpeners also feature multi-stage sharpening, incorporating coarse grinding slots and finer honing slots for a more complete sharpening process.
Pros: They are incredibly fast and efficient, able to sharpen a knife in as little as 10-20 seconds. They are very easy to use, requiring minimal skill to achieve a noticeable improvement in sharpness. Their speed and convenience make them ideal for busy kitchens.
Cons: They can be the most aggressive sharpeners, removing significant amounts of metal with each use, which can shorten the lifespan of your knives considerably. The high speeds and aggressive abrasives also mean there’s a greater risk of overheating the blade, which can damage its temper and make it brittle. They are also generally more expensive and take up more counter space than manual options.
For sheer speed and ease, an electric sharpener is hard to beat, but it comes with the trade-off of potentially wearing down your knives faster.
Comparing Your Options: Which Sharpener Fits You?
Deciding on the "best" knife sharpener for beginners really comes down to what you value most: speed, ease of use, long-term knife health, or the sharpness of the final edge. We’ve broken down the main contenders to help you see which category you fit into.
The Ease Factor: Pull-Throughs vs. Stones
When you first pick up a kitchen knife and realize it’s as dull as a butter knife, you want a solution that’s quick and foolproof. That’s where pull-through sharpeners shine. You literally just pull the knife through the designated slots a few times.
No need to worry about angles, pressure, or technique; the sharpener does all the thinking for you. Aggregate user reviews consistently highlight their simplicity as the main selling point for those completely new to knife maintenance.
On the other end of the spectrum, sharpening stones (whetstones) are the classic, and in many ways, the "purist" choice. However, they require you to learn how to hold a consistent angle, typically around 15-20 degrees per side for most kitchen knives. This skill takes practice.
While they can produce the sharpest edges and are gentle on your knives when used correctly, the initial learning curve is steep. Research indicates that improper angle consistency is the most common mistake beginners make with whetstones, often resulting in a damaged or uneven edge.
Speed vs. Control: Electric vs. Manual
If speed is your absolute top priority, an electric sharpener is probably your best bet. These machines can take a dull knife and make it sharp in mere seconds. You guide the blade through motorized abrasive wheels, and the machine does all the grinding.
Manufacturer specifications often highlight sharpening times in the range of 10-20 seconds per knife. This makes them fantastic for busy households where knives get a lot of use.
However, this speed comes at a cost. Electric sharpeners tend to be quite aggressive. They remove a good amount of metal with each pass, which can significantly shorten the lifespan of your knives over time.
There's also a risk of overheating the blade, which can affect the steel's temper. Manual sharpeners, whether pull-through, stones, or guided systems, offer much more control over the sharpening process. You dictate the speed and pressure, allowing for a gentler approach that preserves your knife's metal and its overall longevity.
Price vs. Performance: What's Your Budget?
The cost of knife sharpeners varies widely, and your budget can be a major factor in your decision. Basic pull-through sharpeners are often the most affordable, with many reliable options available for under $20. This makes them an excellent low-risk entry point for anyone unsure about getting into knife sharpening.
Sharpening stones can range from moderately priced (around $30-$60 for a decent combination stone) to quite expensive, especially for high-end diamond stones or specialty natural stones. Guided sharpening systems tend to fall in the mid-to-high price range, often starting around $50 and going up to $150 or more, depending on the complexity and number of abrasive stages offered. Electric sharpeners are typically the most expensive, with decent models starting at $50 and premium versions costing well over $100. When considering price, think about how often you'll use the sharpener and the long-term value it provides in terms of knife longevity and cutting performance.
Who Needs Which Sharpener? Matching Tools to Tasks
Choosing the right sharpener isn't about finding one that's universally "best," but rather finding the one that best suits your current needs, skill level, and the knives you use most often. We’ve categorized the common beginner options based on who they’re ideal for.
Best for Absolute Beginners: The Easiest Path
If you’ve never sharpened a knife before and the thought of it seems intimidating, or if you just want a quick fix for dull kitchen knives, a pull-through sharpener is your go-to. These are designed for maximum simplicity. You don’t need to learn angles or practice a specific motion; just pull the knife through the slots.
The pre-set angles do the work for you, and you can usually get a noticeable improvement in sharpness within a minute or two. They’re also very forgiving, it's hard to truly mess up your knife with a basic pull-through model. They’re perfect for everyday kitchen knives that are just starting to show signs of dullness.
Best for Kitchen Enthusiasts: Balancing Speed & Quality
For home cooks who enjoy spending time in the kitchen and want their knives to perform reliably without being overly complicated, a guided sharpening system strikes an excellent balance. These systems hold the abrasive stones or rods at a fixed, accurate angle, removing the most difficult part of freehand sharpening for beginners. This means you can achieve consistently sharp edges with a moderate learning curve.
You'll get better results than a simple pull-through, and the process is much more controlled. It’s a step up that offers tangible improvements in edge quality and knife performance without demanding the dedication required for mastering whetstones.
Best for the Budget-Conscious: Getting the Most Bang for Your Buck
If you're on a tight budget but still want a functional way to sharpen your knives, a good quality pull-through sharpener is usually the most affordable option, with many reliable models available for less than $20. For a slightly higher initial investment but potentially better long-term results and knife care, a basic sharpening stone (like a combination 1000/3000 grit whetstone) can also be very cost-effective. While they require more practice, they can last for years and deliver excellent sharpness without wearing down your knives as aggressively as some electric sharpeners.
The key is finding a durable, correctly graded stone that suits your needs.
Common Mistakes Beginners Make (and How to Sidestep Them)
Getting into knife sharpening is rewarding, but it’s easy to stumble over a few common pitfalls when you’re starting out. Understanding these mistakes can save you frustration and, more importantly, protect your valuable knives.
Sharpening Too Much, Too Often
One of the biggest mistakes beginners make is thinking that more sharpening means a sharper knife. This isn't always true. Every time you sharpen a knife, you remove a small amount of metal from the blade.
Over-sharpening, or sharpening when it's not necessary, wears down your knife’s edge much faster than regular use. Manufacturer guidelines often suggest sharpening only when the knife truly feels dull and struggles to perform basic tasks. For many home cooks, a quick touch-up with a honing steel (which realigns the edge without removing metal) is sufficient for weeks or months between actual sharpening sessions.
Using the Wrong Sharpener for Your Knife
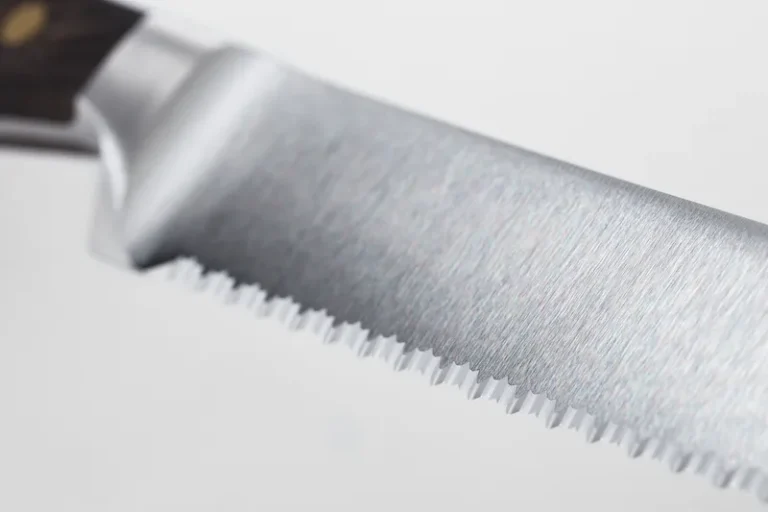
Not all sharpeners are created equal, and using the wrong one can do more harm than good. For instance, using an aggressive carbide pull-through sharpener on a delicate Japanese knife with a thin, acute edge (often around 15 degrees) can damage it. Similarly, trying to sharpen a serrated knife with a sharpener designed for straight edges will likely be ineffective or even detrimental.
Always check the sharpener’s compatibility with your specific knife type and edge angle before you start. For example, standard kitchen knives usually have a 20-degree angle per side, while many Japanese knives are around 15 degrees.
Forgetting the Honing Steel
Many people confuse honing with sharpening, and beginners often skip honing altogether. Honing doesn't remove metal; instead, it gently realigns the microscopic teeth of the knife's edge that get bent out of shape during use. Think of it like straightening a bent comb.
A quick pass or two on a honing steel (often made of steel, ceramic, or even diamond-infused materials) before or after each use can keep your knife feeling sharper for much longer, reducing the frequency with which you need to perform actual sharpening. This simple step is crucial for maintaining an edge between full sharpening sessions.
Getting Started: Basic Sharpening Steps
Once you've chosen a sharpener, the next step is actually using it. We'll cover the most common methods for beginners.
How to Sharpen with a Pull-Through
Pull-through sharpeners are designed for simplicity, making them ideal for beginners.
- Find a stable surface: Place the sharpener on a flat, secure surface, often with a non-slip base to prevent it from moving.
- Identify the slots: Most pull-throughs have at least two slots, often labeled or color-coded (e.g., "Coarse" or "Stage 1," "Fine" or "Stage 2").
- Position the knife: Hold the knife firmly by the handle, with the blade perpendicular to the sharpener.
- Pull through: Place the heel of the blade (the part closest to the handle) into the first slot and pull the knife towards you in a smooth, steady motion. Apply light, even pressure. Repeat this 3-5 times, or as recommended by the manufacturer.
- Move to the next slot: Once you've gone through the coarse slot, repeat the process with the fine or honing slot to refine and polish the edge. Again, 3-5 pulls are usually sufficient.
- Test the edge: Carefully test the sharpness on a piece of paper or a soft vegetable.
- Clean up: Wipe down your knife and rinse the sharpener to remove any metal filings.
Quick Guide to Using a Sharpening Stone (for the brave!)
Using a sharpening stone, or whetstone, requires more practice, but here's a simplified overview. For detailed instruction, consider manufacturer guides or dedicated tutorials.
- Prepare the stone: If using a water stone, soak it in water until bubbles stop rising (usually 5-15 minutes). Diamond stones don't require soaking.
- Stabilize the stone: Place the stone on a damp cloth or a non-slip mat to prevent it from sliding.
- Find your angle: For most kitchen knives, aim for a 15-20 degree angle per side. You can use angle guides that clip onto the blade if needed.
- Sharpen the first side: Hold the knife at the set angle and draw it across the stone from heel to tip, applying light, even pressure. Lift the knife and repeat. Do this several times. You're looking to create a burr (a tiny curled edge) on the opposite side of the blade.
- Sharpen the second side: Flip the knife and repeat the process on the other side, aiming for the same number of strokes.
- Refine the edge: Move to a finer grit stone (if you have one) and repeat the process to polish the edge.
- Deburr: Lightly run the blade edge along the stone at a very shallow angle or on a strop to remove any remaining burr.
- Test and clean: Carefully test the sharpness. Wash your knife thoroughly with soap and water, and dry both the knife and the stone completely.
Maintaining Your Sharpener and Your Knives
Keeping your sharpener in good shape ensures it works effectively and lasts longer. For pull-through sharpeners, a simple wipe-down with a damp cloth after each use is usually enough. If metal filings build up, you can use a soft brush to clear them out.
Avoid submerging most pull-through sharpeners in water, as this can damage the materials or cause rust, especially in models with metal components.
Sharpening stones require a bit more attention. Water stones need to be rinsed and dried thoroughly after each use to prevent mold or mildew. They also need to be flattened periodically using a flattening stone to ensure they remain level, which is crucial for consistent sharpening.
Diamond stones are easier to maintain; just rinse them with water and dry them. Electric sharpeners might require occasional cleaning of their slots and abrasive wheels, often with a brush. Always unplug electric sharpeners before attempting any cleaning.
Proper knife care after sharpening is just as important. Always wash your knives by hand immediately after use and dry them thoroughly. This prevents rust and corrosion, especially on carbon steel blades.
Storing your knives properly, whether in a knife block, on a magnetic strip, or in a blade guard, also protects the freshly sharpened edge from accidental nicks and damage.
Frequently Asked Questions About Beginner Knife Sharpeners
What's the difference between sharpening and honing?
Sharpening actually removes metal to create a new, sharp edge. Honing, on the other hand, uses a honing steel or rod to realign the microscopic teeth of an existing edge that have become bent or wavy from use. Honing keeps an edge sharp for longer, while sharpening restores a dull edge.
How often should I sharpen my knives?
This depends on how often you use them and what you cut. For a busy kitchen, you might need to sharpen your main knives every 1-3 months. For less frequent users, sharpening every 6-12 months might be sufficient.
Always hone your knives regularly, perhaps weekly, to extend the time between sharpenings.
Can I sharpen kitchen knives on a sharpening steel?
A sharpening steel is for honing, not sharpening. While it will help keep your knives sharper by realigning the edge, it won't restore sharpness to a truly dull blade. For actual sharpening, you need abrasive materials like those found in pull-through sharpeners, stones, or electric sharpeners.
Are carbide pull-through sharpeners bad for my knives?
Carbide sharpeners can be aggressive and remove more metal than necessary, potentially shortening the life of your knives if used too frequently or too forcefully. They are best for quick touch-ups on very dull knives and should be used sparingly on high-quality blades. More controlled methods like guided systems or stones are generally better for long-term knife maintenance.
Do I need different sharpeners for different types of knives?
Yes, ideally. Most kitchen knives have a straight edge and are ground to an angle around 20 degrees per side. Serrated knives require special serrated knife sharpeners or tools, and very specialized knives (like some Japanese or single-bevel blades) may require specific sharpening techniques or angle guides.
For beginners, focusing on versatile sharpeners suitable for most straight-edge kitchen knives is usually the best starting point.
My Recommendation: The Best Starting Point for Most Beginners
After looking at all the options, if you're just starting out and want a reliable way to get your knives sharp without a steep learning curve, a guided sharpening system is often the sweet spot. These systems take the guesswork out of holding the correct angle, which is the biggest hurdle for beginners using sharpening stones. You get consistent results, a much sharper edge than a basic pull-through can provide, and it’s much gentler on your knives than aggressive electric sharpeners.
While a simple pull-through sharpener is the absolute easiest, the quality of the edge you get is often less refined and they can wear your knives down faster. If you're willing to invest a little more time and money, a guided system allows you to progress and truly understand how to maintain your knives properly, leading to safer and more enjoyable cooking. It offers the best blend of ease, effectiveness, and long-term knife care for someone new to the sharpening game.