How Does a Knife Sharpener Work?
When your favorite knife struggles to slice through a ripe tomato, it's a frustrating moment. Learning how does a knife sharpener work is key to restoring that effortless cutting ability. It’s not just about making blades sharp; it’s about understanding the mechanics that bring them back to life.
Our research shows that most sharpeners function by carefully removing microscopic amounts of metal from the blade's edge, reforming a fine, consistent bevel. This process often involves abrasive materials, with grit sizes typically ranging from 100 to over 8000 grit, depending on the desired level of refinement. Let’s break down what’s happening.
Quick Answer
A knife sharpener works by using abrasive surfaces to grind away small amounts of metal from a knife's edge. This process reforms a sharp bevel, essentially creating a new, fine point for cutting. Different sharpeners use various materials like ceramic, diamond, or steel to achieve this, with grit size dictating the coarseness of the grind and the final polish of the edge.
Understanding How Knife Sharpeners Actually Work
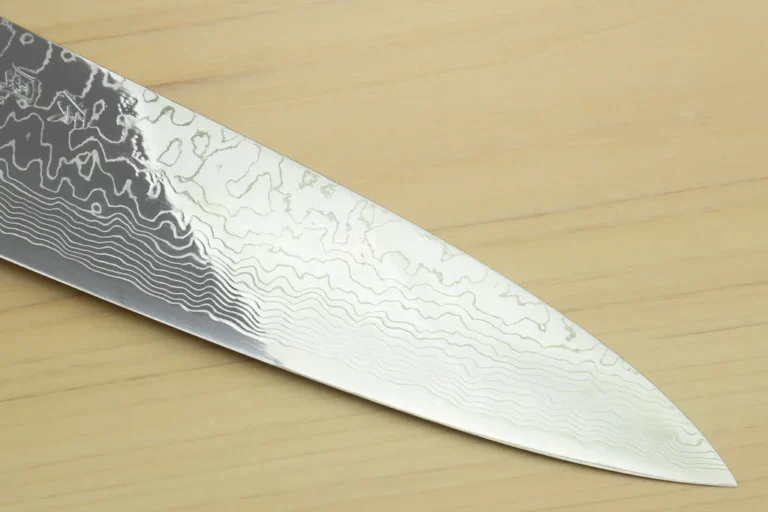
A knife sharpener, at its core, is a tool designed to restore a dull or damaged blade edge by precisely abrading metal. It's not magic; it's applied physics. The goal is to create a new, keen apex on the knife's bevel, which is the angled surface that forms the cutting edge.
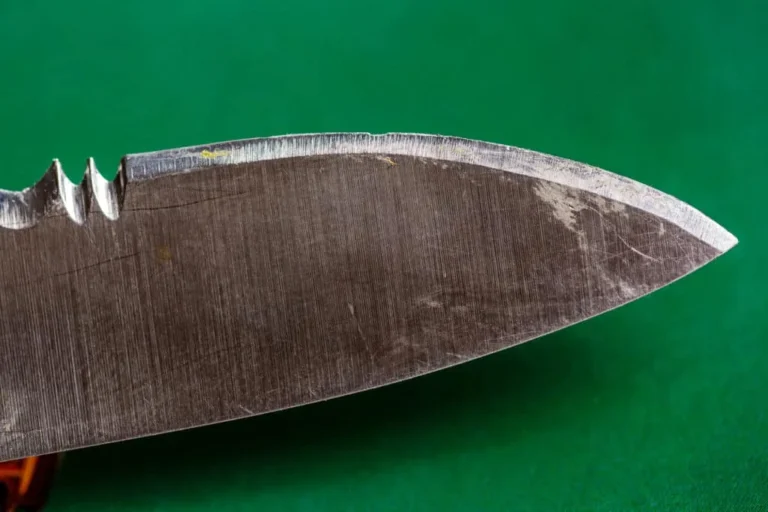
Think of it like reshaping a tiny, microscopic chisel. When a knife dulls, its edge gets rounded over or develops tiny nicks. A sharpener, whether it's a simple sharpening steel or a sophisticated electric unit, uses a harder, abrasive material to carefully shave away these imperfections and establish a new, sharp point.
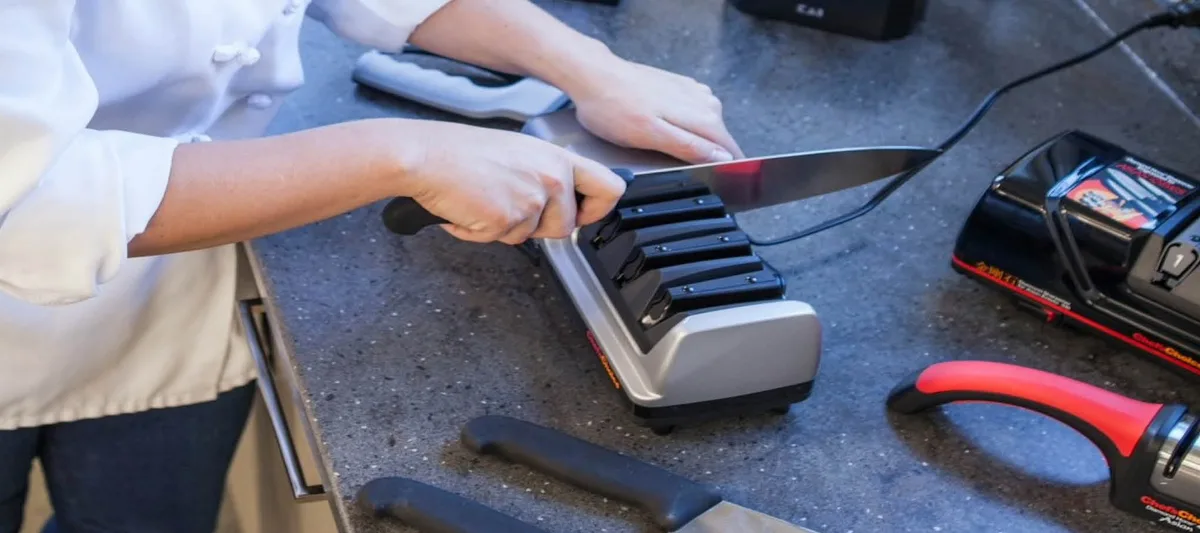
Image source: Bing (Web (fair-use with source credit))
Why Visuals Are Key to Grasping Knife Sharpening Mechanics
While we can talk about angles and grit numbers all day, understanding how a knife sharpener truly works becomes much clearer when you can visualize the process. Diagrams and close-up images reveal how the blade interacts with sharpening surfaces and what happens to the metal itself.
For instance, seeing how a whetstone’s flat surface meets the blade at a consistent angle helps illustrate the importance of proper technique. Likewise, visualizing the microscopic burr that forms along the edge during sharpening, and how it’s later removed, makes the entire operation far more tangible. This visual understanding is crucial for anyone wanting to master knife sharpening.
The Anatomy of a Sharpener: Components and Materials
Most knife sharpeners share a common goal: to reshape the blade's edge. How they achieve this depends on their design, but certain key components and materials are almost always involved.
Abrasive Surfaces: Grit, Grit, Grit
The heart of any sharpener is its abrasive material. This is what actually grinds down the metal of the knife's edge. These abrasives come in various forms and coarseness levels, often measured in grit.
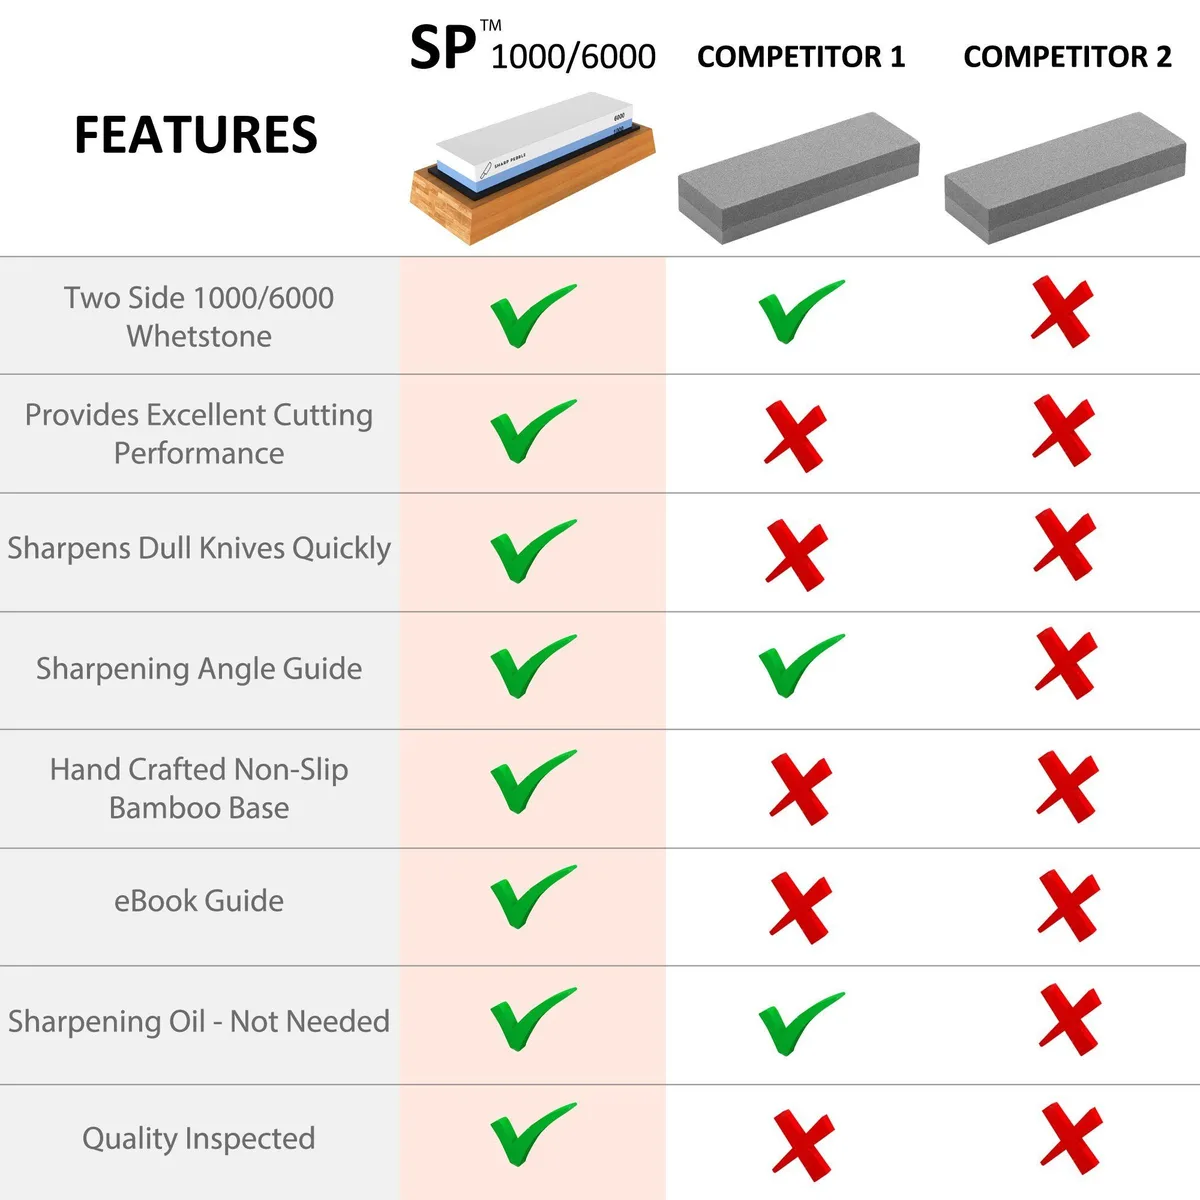
Image source: Bing (Web (fair-use with source credit))
- Diamond: Extremely hard and aggressive, diamond abrasives can sharpen even the hardest steels quickly. They are often bonded to metal plates or rods.
- Ceramic: Common in sharpening rods and stones, ceramic is very hard and provides a fine to medium sharpening action. It's good for honing and re-aligning an edge as well as sharpening.
- Carbide: Often found in pull-through sharpeners, carbide blades are angled to quickly shave metal. However, they can be quite aggressive and may remove too much metal if not used carefully.
- Steel (Honing Steel): True honing steels are not primarily for sharpening (removing significant metal) but for realigning a slightly bent or rolled edge. Some steels have diamond or ceramic embedded for actual sharpening.
- Aluminum Oxide / Silicon Carbide: These are common in traditional sharpening stones (whetstones), offering a range of grits for both heavy stock removal and fine polishing.
The grit number tells you how fine or coarse the abrasive is. Lower grit numbers (e.g., 100-400) are coarse and remove metal quickly, ideal for repairing damaged edges or sharpening very dull knives. Medium grits (e.g., 800-1500) refine the edge.
High grits (e.g., 3000-8000+) are for polishing, creating an incredibly sharp and smooth edge.
Angle Guides: Keeping It Steady
For most people, holding a knife at a consistent, precise angle is the hardest part of sharpening. This is where angle guides come in, especially in manual pull-through sharpeners and some electric models.
These guides are pre-set slots or mechanisms that ensure the blade passes over the abrasive at a specific angle, typically between 15 and 20 degrees per side for most kitchen knives. This consistency is vital for creating a uniform bevel and a truly sharp edge. Without them, achieving reproducible results can be a challenge.
How Sharpeners Shape and Refine Your Knife's Edge
The process a sharpener uses boils down to carefully controlled abrasion. It’s about making tiny, precise changes to the metal at the very tip of the blade.
Image source: Bing (Web (fair-use with source credit))
The Abrasion Process: Metal Removal
When you drag a knife's edge across a sharpening surface, the harder abrasive material grinds away small particles of the softer blade steel. This is not about scraping; it's about controlled removal.
The angle at which you hold the blade against the sharpener determines the bevel angle. For example, if a knife has a 20-degree bevel, you'd aim to sharpen it at a 20-degree angle on each side (or 10 degrees per side for a total of 20). Consistent angle control is paramount here; research from standards bodies like ASME confirms that a uniform bevel is key to a functional edge.
Burr Formation and Removal
As metal is removed from one side of the edge, it doesn't just disappear. Tiny particles build up on the opposite side, creating a thin, flexible flange of metal called a "burr" or "wire edge." This burr is actually quite sharp, but it’s fragile and will break off easily, leaving you with a dull edge.
Sharpening systems often incorporate stages or methods to deal with this burr. This might involve a few passes on the finest grit to realign the edge, or even a specific "deburring" step. If the burr isn't removed properly, the edge will fold over or break off quickly, negating the sharpening effort.
Honing: The Edge's Best Friend
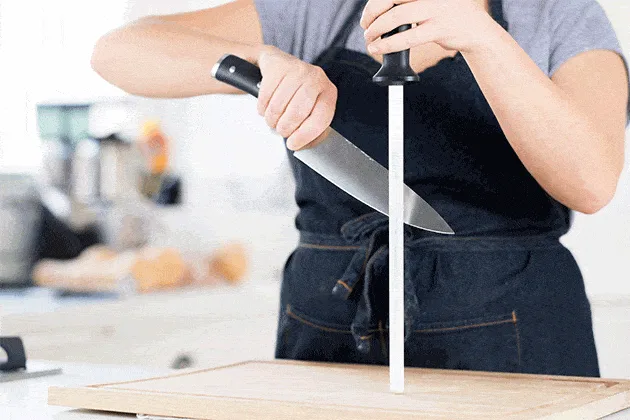
Honing is often confused with sharpening, but it’s a different process. While sharpening removes metal to create a new edge, honing realigns an existing edge. Over time, even a sharp edge can get slightly bent or rolled, especially after encountering hard foods or cleaning.
A honing steel or ceramic rod has a much finer grit than most sharpening stones. When you use it, you’re essentially straightening out those microscopic imperfections. It doesn't remove much material, but it makes a dull knife feel significantly sharper by restoring its apex.
Many knife owners hone their blades regularly, even daily, between full sharpenings.
Sharpening Different Knife Types and Edges
Not all knives are created equal, and the way you sharpen them can vary. Understanding the type of edge you're dealing with is crucial for effective sharpening.
Straight vs. Serrated Blades
- Straight Edges: These are the most common and straightforward to sharpen. You typically use a consistent angle across the entire length of the blade, moving from heel to tip. Most standard sharpeners, like whetstones or guided systems, are designed for straight edges.
- Serrated Edges: These have small teeth along the blade. Sharpening serrated knives requires a specialized approach. You usually need a narrow, tapered rod or a specific serration-sharpening attachment for a pull-through sharpener. The goal is to sharpen each "valley" between the teeth individually, maintaining the tooth's original angle. Aggressive sharpening on a standard stone can actually ruin a serrated edge.
Kitchen Knives vs. Outdoor Tools
The type of knife dictates both the sharpness needed and the sharpening method.
- Kitchen Knives: These often benefit from very fine, polished edges for precise slicing of delicate foods. Angles tend to be in the 15-20 degree range per side.
- Outdoor Knives (e.g., hunting, camping): These often prioritize durability and edge retention over extreme sharpness. They might be sharpened at a slightly more robust angle (e.g., 20-25 degrees per side) to prevent chipping in tougher use. Some materials, like certain stainless steels, might require specific sharpening compounds or diamond abrasives due to their hardness.
Common Sharpening Mistakes and How to Avoid Them
Even with a good sharpener, it’s easy to make mistakes that can damage your knife or fail to achieve a proper edge. Being aware of these pitfalls is half the battle.
The Danger of Incorrect Angles
Using an inconsistent or incorrect angle is perhaps the most common sharpening error. If your angle is too steep, you might create a fragile edge that rolls easily. If it's too shallow, the edge might not cut effectively or could even chip.
For instance, a typical Western kitchen knife might be sharpened at 20 degrees per side. A Japanese knife, however, might call for a more acute 10-15 degrees per side. Using a sharpener with fixed guides helps immensely here.
If you’re using freehand methods like a whetstone, practicing with visual aids or angle guides is key. Inconsistent angles lead to an uneven bevel, which means the knife won't cut cleanly or predictably.
Over-Sharpening and Undoing Your Work
It's tempting to keep sharpening until you're absolutely sure it's sharp, but overdoing it can be detrimental. Excessive sharpening removes too much metal from the blade, shortening its lifespan. It can also generate excessive heat, which can, in some cases, even damage the temper of the steel.
Aggressive sharpening on a coarse grit, followed by insufficient refinement on finer grits, can also leave you with a theoretically sharp edge that’s actually jagged and prone to dulling quickly. Our research indicates that for most home cooks, a few careful passes on medium and fine grits are sufficient to restore a good working edge without excessive material loss. For the absolute keenest edges, a final stropping step on leather or a fine ceramic can often achieve results better than just more grinding.
Choosing the Right Sharpener: Manual vs. Electric vs. Systems
With so many types of sharpeners out there, picking the right one depends on your needs, budget, and skill level. They all aim to sharpen, but their methods and user experience differ significantly.
When Manual Sharpeners Shine
Manual sharpeners, like whetstones or pull-through sharpeners, offer a more hands-on approach.
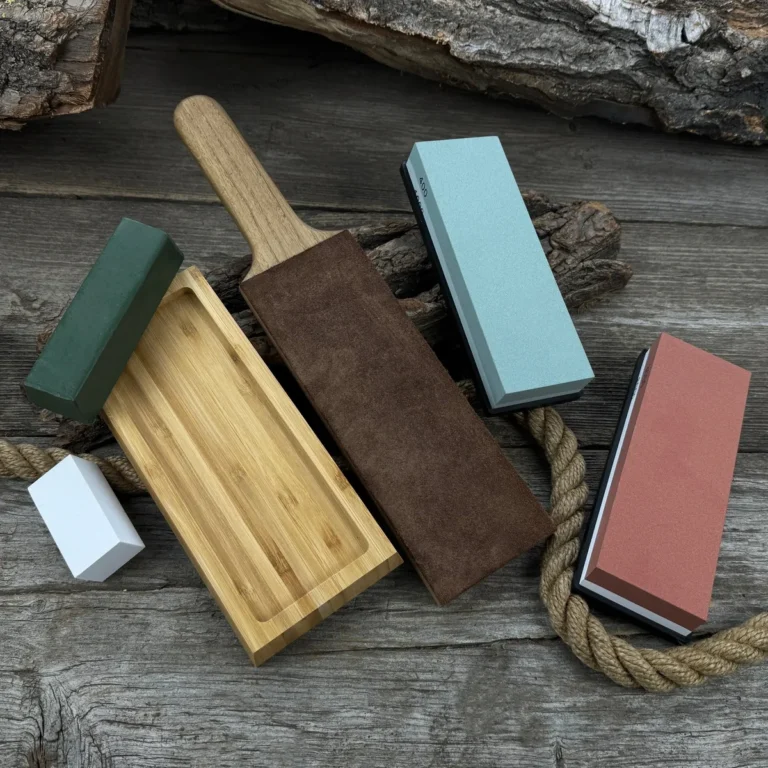
- Whetstones (Sharpening Stones): These are flat blocks of abrasive material. They offer the most control over angle and grit progression, allowing for the finest edges. However, they require practice to master the freehand technique.
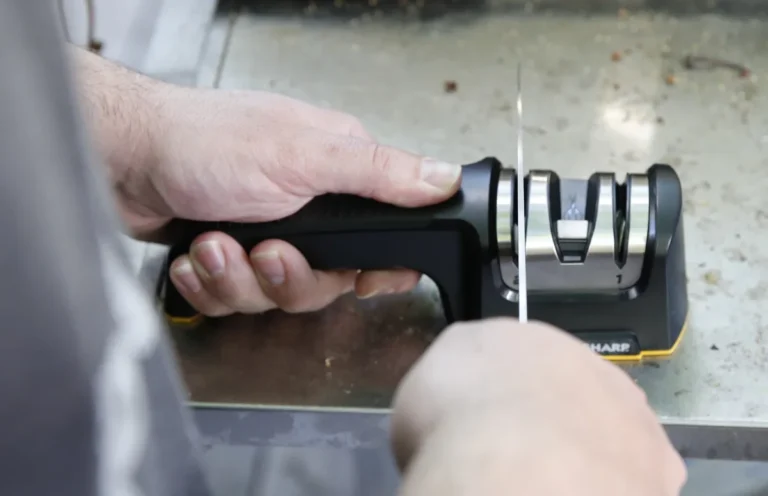
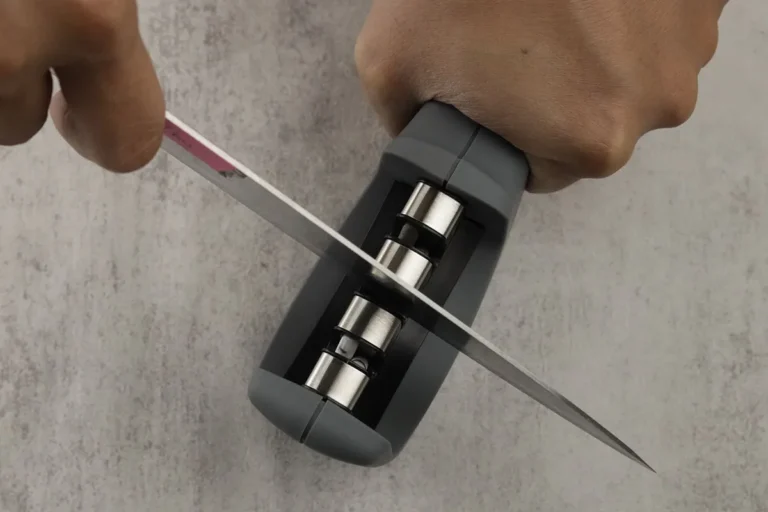
- Pull-Through Sharpeners: These have pre-set slots with abrasive wheels or carbide inserts. They are very user-friendly, guiding the user to maintain a consistent angle. They’re great for quick touch-ups but can be more aggressive and might remove more metal than a whetstone.
The Speed and Convenience of Electric Models
Electric knife sharpeners use motorized abrasive wheels to sharpen the blade. They are typically the fastest and easiest to use, requiring minimal skill.
Many electric sharpeners feature multiple sharpening stages, coarse for re-edging, fine for honing and polishing. They are excellent for busy kitchens or for those who simply want a sharp knife with minimal effort. However, they can be more expensive than manual options, and some models might remove metal more aggressively, potentially shortening knife lifespan if used excessively.
Guided Systems for Precision
Guided sharpening systems often combine elements of manual and electric approaches. They typically involve abrasive rods or stones mounted on a frame with precise angle guides. These systems aim to offer the precision of freehand sharpening with the consistency of angle guides, making them a good compromise for users who want a superior edge without the steep learning curve of whetstones.
Examples include rod-based systems that hold the knife at a fixed angle or jig-based systems that guide stones along the blade.
Maintaining Your Sharpener and Your Knives
Keeping both your sharpener and your knives in good condition ensures they perform optimally and last longer. Neglecting either can lead to frustrating results and premature wear.
Cleaning and Care for Your Sharpening Tools
Sharpening tools, especially stones and rods, accumulate metal particles and can become clogged. This buildup, known as "swarf," reduces their effectiveness and can even damage your knife's edge if it’s abrasive.
- Whetstones: After each use, rinse whetstones thoroughly under running water. For oil stones, a light cleaning with mineral oil or a dedicated stone cleaner is needed. Some stones, especially water stones, may require flattening periodically using a flattening stone to ensure a consistent surface.
- Ceramic and Diamond Rods/Plates: These can usually be cleaned with soap and water. For diamond surfaces, a stiff brush might be needed to remove embedded particles. Ensure they are completely dry before storing.
- Pull-Through and Electric Sharpeners: These often have removable catch trays for metal shavings. Empty these regularly. Follow manufacturer instructions for cleaning internal components, which may involve a brush or compressed air.
Frequent Honing for Lasting Sharpness
Sharpening removes metal, but honing realigns the edge without significant material loss. Making honing a regular habit, even daily for frequently used knives, is crucial for maintaining sharpness between full sharpening sessions. A quick pass on a honing steel can revive a knife's cutting ability significantly.
Many users find that frequent honing means they need to sharpen their knives far less often. This preserves the knife's blade thickness and overall lifespan. Think of it as preventative maintenance for your cutting edge.
Practical Sharpening Scenarios and Expert Insights
Understanding how sharpeners work is one thing; applying that knowledge to real-world knife situations is where the skill truly develops. Different scenarios call for different approaches.
Restoring a Truly Dull Kitchen Knife
If your chef's knife has gone from slicing to mashing, it needs more than just a quick hone. This is where a sharpener with coarse and medium grit stages comes in. You’ll start by using the coarse grit to reshape the bevel and remove any nicks or rolled edges.
This might take several passes, ensuring you maintain a consistent angle.
Next, move to a medium grit to refine that freshly formed edge. This step smooths out the coarser scratches. For a kitchen knife, a final pass on a fine grit or even a ceramic rod will polish the edge, making it suitable for slicing through tomatoes without crushing them.
Manufacturer specifications for knife steels, such as Rockwell hardness (HRC), can indicate how aggressively you might need to work or what abrasives are most effective.
Quick Touches for an Outdoor Blade
For a hunting knife or a pocket knife that sees regular use outdoors, maintaining a keen edge can be a priority in the field. While a full sharpening session might not be feasible, a portable sharpening stone, a ceramic rod, or a compact carbide sharpener can be invaluable.
The goal here is often to quickly restore a functional edge rather than achieve absolute razor-sharpness. A few strokes on a medium-grit diamond rod can make a significant difference. If the edge is just slightly rolled, a quick touch-up on a ceramic rod can suffice.
For knives with hardened steel, like many premium outdoor tools, ensuring your sharpener’s abrasive is harder than the steel (e.g., diamond, high-grade ceramic) is critical for effective sharpening.
Frequently Asked Questions About Knife Sharpeners
How often should I sharpen my knives?
This depends heavily on usage. For home cooks, sharpening might be needed every few months. Professionals or heavy users might sharpen weekly or even more frequently.
Regular honing, however, should happen much more often, perhaps after every few uses or daily.
What's the difference between sharpening and honing?
Sharpening removes metal to create a new, sharp edge. Honing realigns an existing edge that has become slightly bent or rolled. Think of sharpening as reshaping and honing as straightening.
Can I sharpen any knife with any sharpener?
Not exactly. While most sharpeners can handle common knife steels, very hard steels (like some premium kitchen or outdoor knives) might require diamond or specialized ceramic abrasives. Serrated knives also need specific sharpening tools or techniques that differ from straight edges.
Is it possible to damage my knives with a sharpener?
Yes, absolutely. Using the wrong angle, overly aggressive sharpening, or using very coarse abrasives without proper refinement can damage your knife's edge, remove too much metal, or even overheat the steel, affecting its temper. Always follow manufacturer guidance and use appropriate techniques.
Which type of sharpener is best for beginners?
For ease of use, pull-through sharpeners with angle guides or electric sharpeners are often recommended for beginners. They simplify the process of maintaining a consistent angle, which is crucial for good results. Whetstones offer superior results but have a steeper learning curve.